Does your dishwasher struggle to clean your dishes effectively? It might be time to give some attention to your dishwasher’s spray arm assembly. This crucial component is responsible for distributing water and detergent evenly throughout the dishwasher, ensuring a thorough clean. In this article, you’ll find essential tips on how to effectively clean and maintain your dishwasher’s spray arm assembly, keeping your dishes spotless and your machine running smoothly. From removing clogs to preventing buildup, we’ve got you covered. Say goodbye to dirty dishes and hello to a gleaming dishwasher!
This image is property of i.ytimg.com.
1. Understanding the Dishwasher’s Spray Arm Assembly
1.1 Purpose of the Spray Arm Assembly
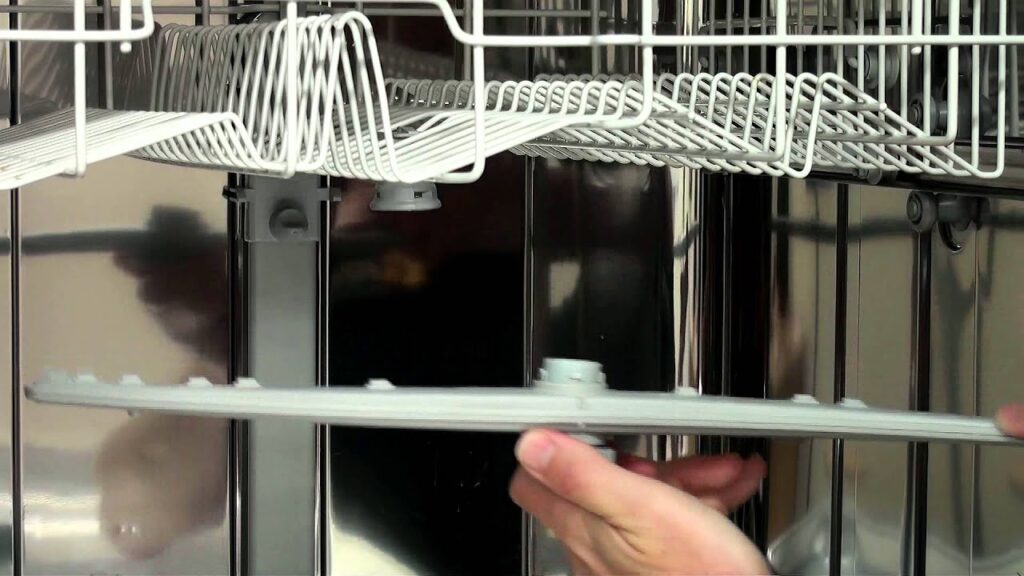
The spray arm assembly in a dishwasher is responsible for distributing water and detergent throughout the dishwasher during the cleaning cycle. It consists of a spray arm, which spins and sprays water, and various components that allow it to rotate and direct water towards the dishes.
1.2 Components of the Spray Arm Assembly
The spray arm assembly is composed of several important components. These include the spray arm itself, which is typically a plastic or metal arm with spray nozzles, the spray arm bearing or hub that allows the spray arm to rotate, and the spray arm nut that secures the spray arm to the dishwasher’s water supply. Understanding these components is essential for maintaining and cleaning the spray arm assembly effectively.
2. Signs of a Dirty or Malfunctioning Spray Arm Assembly
2.1 Decreased Cleaning Performance
One of the most apparent signs of a dirty or malfunctioning spray arm assembly is a decrease in the dishwasher’s cleaning performance. If you notice that your dishes are coming out dirty or covered in residue, it could indicate that the spray arm assembly is not functioning properly and needs cleaning or maintenance.
2.2 Clogged Spray Nozzles
Another common sign is clogged spray nozzles. Over time, food debris, mineral deposits, and other impurities can accumulate in the spray nozzles, causing the water flow to become restricted or blocked completely. This can lead to uneven cleaning and poor water distribution, resulting in dirty dishes.
2.3 Water Leaks or Drips
If you notice water leaks or drips coming from the spray arm assembly during the dishwasher’s operation, it may indicate a problem. Leaks can occur due to damaged or worn-out seals, loose connections, or cracks in the spray arm itself. Addressing these issues promptly is crucial to prevent further damage to your dishwasher.

This image is property of i.ytimg.com.
3. Preparing for Cleaning and Maintenance
3.1 Gather Required Tools and Materials
Before starting the cleaning and maintenance process, gather the necessary tools and materials. You will need a screwdriver, pliers, a toothpick or pin, white vinegar, a soft brush or cloth, lemon juice (optional), and a descaler solution (optional).
3.2 Turn off the Dishwasher and Disconnect Power
For safety purposes, it’s important to turn off the dishwasher and disconnect the power supply before cleaning and performing any maintenance on the spray arm assembly. This will prevent any accidental injuries and ensure that you can work on the assembly without any electrical hazards.
3.3 Remove Dishwasher Racks and Locate the Spray Arm Assembly
To access the spray arm assembly, remove the dishwasher racks. The spray arm assembly is typically located at the bottom of the dishwasher, underneath the racks. Once located, familiarize yourself with its components and take note of their condition for further inspection.
4. Cleaning the Spray Arm Assembly
4.1 Removing the Spray Arm
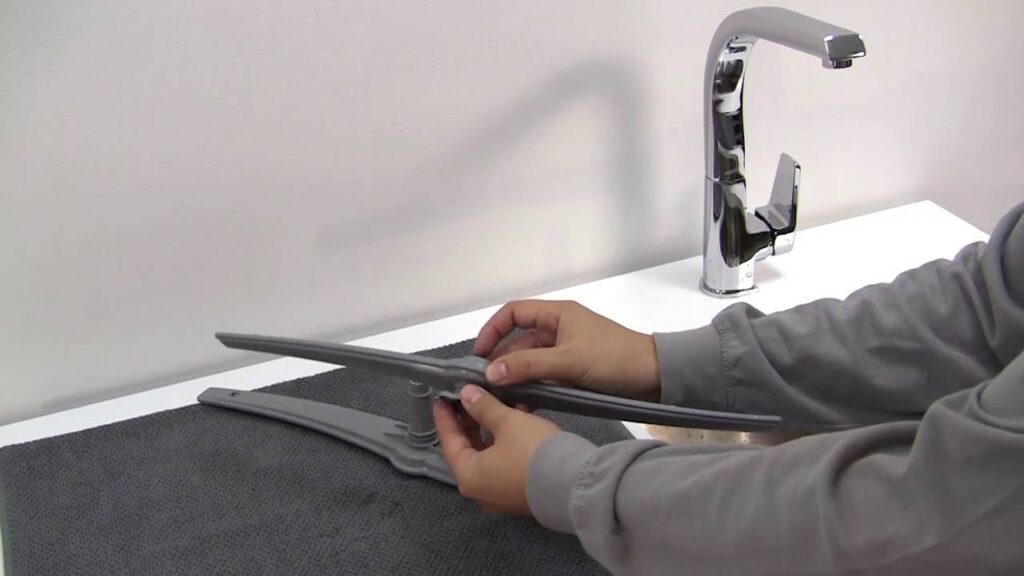
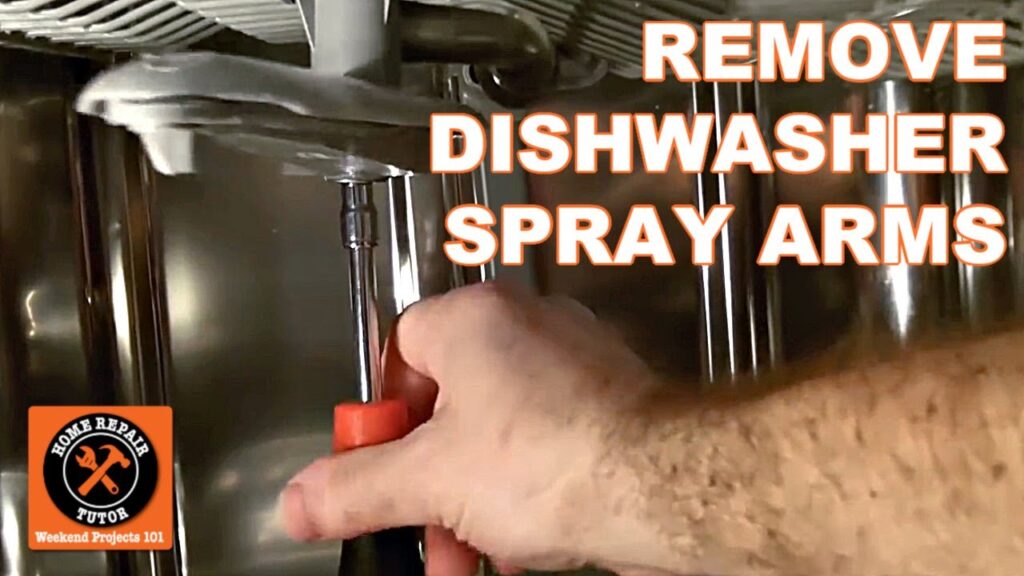
To clean the spray arm assembly effectively, start by removing the spray arm. Depending on your dishwasher model, you may need to unscrew the spray arm nut or simply lift the spray arm off its bearing or hub. Follow the dishwasher’s manual instructions for proper removal.
4.2 Cleaning the Spray Arm Manually
Once the spray arm is removed, inspect it for any debris or clogs. Use a toothpick or pin to gently remove any food particles or mineral deposits that may be blocking the spray nozzles. Rinse the spray arm with warm water to ensure it is free of any remaining residue.
4.3 Using Vinegar Solution for Stubborn Deposits
If the spray arm has stubborn deposits that are difficult to remove, soak it in a mixture of white vinegar and water. Fill a bowl or sink with equal parts vinegar and water and let the spray arm soak for about 30 minutes. Afterward, rinse the spray arm thoroughly with water.
This image is property of img.youtube.com.
5. Cleaning the Spray Nozzles
5.1 Removing Clogs with a Toothpick or Pin
To clean the spray nozzles, inspect them for any clogs or blockages. Use a toothpick or pin to carefully remove any debris that may be obstructing the flow of water. Be gentle to avoid damaging the nozzles.
5.2 Soaking in Vinegar Solution for Deep Cleaning
For a more thorough cleaning of the spray nozzles, you can soak the spray arm assembly in a solution of vinegar and water. Fill a container with equal parts vinegar and water, and submerge the spray arm assembly in it. Let it soak for about an hour, then rinse it thoroughly with water.
6. Treating Rust or Mineral Deposits
6.1 Removing Rust with Lemon Juice
If you notice rust on the spray arm or other components of the assembly, lemon juice can be an effective natural remedy. Apply lemon juice to the affected areas and let it sit for a few minutes. Then, scrub the rust stains gently with a soft brush or cloth. Rinse thoroughly afterward.
6.2 Using a Descaler Solution for Mineral Deposits
For stubborn mineral deposits that are causing blockages or affecting the spray arm’s performance, use a commercial descaler solution specifically designed for dishwashers. Follow the manufacturer’s instructions for proper usage, as different products may have specific guidelines.
This image is property of nwmaids.com.
7. Reassembling and Reinstalling the Spray Arm Assembly
7.1 Attaching the Spray Arm
After the cleaning and maintenance steps are complete, it’s time to reassemble the spray arm assembly. Start by attaching the spray arm back to its bearing or hub. Ensure that it is securely positioned and can rotate freely.
7.2 Securing the Spray Arm Nut
If your dishwasher requires a spray arm nut for securing the spray arm, reattach it and tighten it with a screwdriver or pliers. Follow the manufacturer’s instructions for the correct tightness to prevent any leaks or damage.
7.3 Reinstalling Dishwasher Racks
Finally, reinstall the dishwasher racks once the spray arm assembly is securely in place. Make sure they are positioned correctly and slide smoothly to avoid any interference with the spray arm’s rotation.
8. Regular Maintenance Tips
8.1 Run Hot Water Before Starting the Dishwasher
Before running a dishwasher cycle, it’s beneficial to run hot water in the kitchen sink first. This helps ensure that the dishwasher starts with hot water, improving its cleaning performance and preventing the buildup of grease and residue.
8.2 Use Dishwasher Cleaner Regularly
Regularly using a dishwasher cleaner can help remove accumulated grease, mineral deposits, and other residues from the dishwasher’s interior, including the spray arm assembly. Follow the product’s instructions for proper usage and dosage.
8.3 Check and Clean the Filter
To maintain optimal performance, regularly check and clean the dishwasher’s filter. A clogged or dirty filter can hinder water flow and affect the spray arm assembly’s effectiveness. Remove any debris and rinse the filter under running water.
This image is property of i.ytimg.com.
9. Troubleshooting Common Issues
9.1 Poor Spray Arm Rotation
If you notice the spray arm rotation is not smooth or it gets stuck, there may be an issue with the spray arm bearing or hub. Inspect these components for any damage or debris. Clean and lubricate them as necessary, or consider contacting a professional for repair.
9.2 Excessive Noise or Vibration
Excessive noise or vibration during the dishwasher’s operation can indicate loose or damaged components in the spray arm assembly. Check for loose connections, damaged nuts, or worn-out bearings. Tighten or replace these parts as needed.
9.3 Replacement of Damaged Components
If any components of the spray arm assembly are severely damaged or worn out, they may need to be replaced. Consult the dishwasher’s manual or contact the manufacturer for replacement parts and instructions. Ensure that you use compatible components for your specific dishwasher model.
10. Professional Assistance for Complex Issues
10.1 Consulting the Dishwasher Manual
If you encounter complex issues with your dishwasher’s spray arm assembly that you are unsure how to resolve, consult the dishwasher’s manual. The manual should provide detailed troubleshooting steps and recommendations specific to your dishwasher model.
10.2 Contacting Customer Support or Repair Services
If the problems persist or you are uncomfortable performing the repairs yourself, reach out to the dishwasher manufacturer’s customer support or a professional repair service. They will be able to provide guidance, diagnose the issue accurately, and handle any necessary repairs or part replacements.
By following these cleaning and maintenance tips, you can ensure that your dishwasher’s spray arm assembly remains in optimal condition, leading to efficient cleaning and prolonging the lifespan of your dishwasher.


