
Maintaining your kitchen appliances is crucial for their longevity and efficient performance. From your refrigerator to your dishwasher, this guide will equip you with the essential knowledge and techniques to keep your appliances in top shape. Learn about the key maintenance tasks, such as cleaning, inspecting, and replacing parts, that will not only save you money on repairs but also ensure that your appliances consistently deliver the best results. By following these simple steps, you can prolong the lifespan of your kitchen appliances and enjoy hassle-free cooking and cleaning experiences.

This image is property of www.redfin.com.
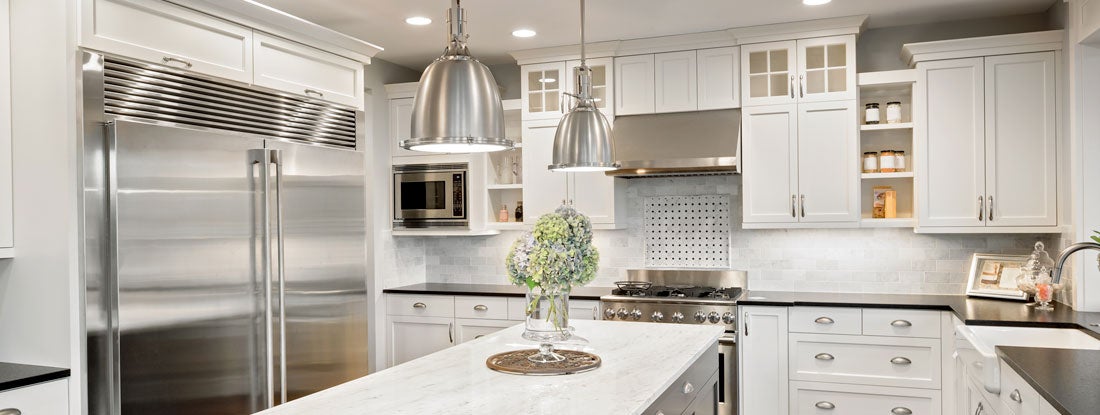
1. Refrigerator Maintenance
1.1 Cleaning the refrigerator coils
To keep your refrigerator running efficiently, it’s important to clean the coils regularly. Over time, dust and debris can accumulate on the coils, causing them to work harder and potentially leading to overheating. To clean the coils, first, unplug the refrigerator. Then, locate the coils, which are usually located either at the back or underneath the fridge. Use a soft brush or a vacuum cleaner with a brush attachment to gently remove the dirt and dust from the coils. This simple maintenance task can help prolong the lifespan of your refrigerator and save energy.
1.2 Defrosting the freezer
If you have a freezer compartment in your refrigerator, it’s essential to defrost it regularly to prevent the buildup of ice. Over time, ice can accumulate and reduce the efficiency of the freezer, making it harder for it to maintain a consistent temperature. To defrost the freezer, remove all the food and unplug the refrigerator. Let the ice melt naturally or use a hairdryer on a low heat setting to speed up the process. Once the ice has melted, wipe down the interior of the freezer with a cloth or sponge. Make sure to dry it thoroughly before plugging it back in and restocking the freezer.
1.3 Checking the door seals
The door seals, also known as gaskets, play a crucial role in maintaining the efficiency of your refrigerator. Over time, these seals can become loose or damaged, allowing cool air to escape and warm air to enter. This can put a strain on the refrigerator’s cooling system and lead to higher energy consumption. To check the door seals, close the refrigerator door on a piece of paper and try to pull it out. If you can do so easily, it may be a sign that the seals need to be replaced. Look for any visible signs of wear or damage, such as cracks or tears. If you notice any issues, contact a professional to replace the seals to ensure optimal efficiency.
1.4 Cleaning the interior
Regularly cleaning the interior of your refrigerator is essential for maintaining hygiene and preventing unpleasant odors. Start by removing all the food and shelves from the refrigerator. Use a mixture of mild dish soap and warm water to wipe down the interior walls and shelves. Pay special attention to any spills or stains, ensuring they are thoroughly cleaned. For stubborn stains, you can use a baking soda and water paste to gently scrub the surface. Once you’re done cleaning, dry the interior thoroughly before placing the shelves and food back inside.
1.5 Avoiding overloading
While refrigerators are designed to hold a significant amount of food, overloading them can strain the cooling system and lead to decreased efficiency. Follow the manufacturer’s guidelines for recommended maximum load capacity, and avoid overcrowding your refrigerator. This will allow for proper airflow and circulation, ensuring that the food stays fresh for longer. Additionally, overloading can make it difficult to organize and find items, potentially leading to food waste as items get forgotten or spoil.
2. Oven and Stove Maintenance
2.1 Cleaning the stove burners and grates
Regularly cleaning the stove burners and grates is essential for both the appearance and functionality of your oven and stove. Remove the burners and grates from the stovetop and wash them in a sink filled with warm, soapy water. Use a sponge or brush to scrub away any grease or food residue. For stubborn or baked-on stains, you can soak them in a mixture of warm water and dish soap before scrubbing. Rinse thoroughly and dry before placing them back on the stovetop.
2.2 Checking and replacing oven gaskets
The oven gasket, also known as the door seal, provides a tight seal when the oven door is closed, preventing heat from escaping and ensuring efficient cooking. Over time, the gasket may become worn or torn, compromising the oven’s performance and energy efficiency. To check the gasket, open the oven door and visually inspect the seal for any signs of damage or wear. If you notice any issues, contact a professional to replace the gasket and restore the oven’s efficiency.
2.3 Cleaning the oven
Regularly cleaning the inside of your oven is crucial for maintaining its performance and preventing a buildup of grease and food residue. Start by removing the oven racks and soaking them in warm, soapy water. While they soak, use a damp cloth or sponge to wipe down the interior of the oven, including the walls, ceiling, and floor. For stubborn stains, you can create a paste using baking soda and water and apply it to the stained areas. Let it sit for a few hours before wiping it away with a damp cloth. After cleaning, rinse the oven racks and dry them before placing them back inside.
2.4 Cleaning the exhaust fan and filters
The exhaust fan and filters in your oven are responsible for removing smoke, steam, and odors during cooking. Over time, these components can become clogged with grease and debris, compromising their efficiency. To clean the exhaust fan, first, make sure the oven is unplugged or switched off. Remove the grease filters and soak them in warm, soapy water. Use a brush or sponge to scrub away any grease or residue. Wipe down the fan blades with a damp cloth or brush to remove any dust or buildup. Once the filters are clean and dry, place them back into the oven.
2.5 Avoiding spills and staining
Preventing spills and staining is an essential part of oven and stove maintenance. Whenever possible, use baking sheets or oven-safe containers to catch any potential spills or overflow. This will prevent the spills from directly contacting the oven surface and making it easier to clean up afterward. When cooking on the stovetop, use medium or low heat settings to minimize the risk of splattering and boiling over. If spills do occur, clean them up promptly to prevent them from hardening and becoming difficult to remove.

This image is property of cdn.apartmenttherapy.info.


