If you’re a tea or coffee lover, then a kettle is an essential kitchen appliance. But with regular use, mineral deposits and limescale can build up inside, affecting the taste and performance of your hot beverages. Thankfully, cleaning and descaling a kettle is a simple task that can be done with a few household ingredients. In this article, we’ll guide you through the process of effortlessly removing those pesky deposits, ensuring your kettle stays clean and your next cup of tea or coffee tastes as delicious as ever.

1. Reasons to Clean and Descale a Kettle
1.1 Hygiene
Cleaning and descaling your kettle is essential for maintaining good hygiene. Over time, mineral deposits and bacteria can accumulate inside the kettle, especially if you live in an area with hard water. Regular cleaning helps ensure that your kettle remains free from harmful contaminants, keeping you and your family safe.
1.2 Taste
A clean kettle can greatly enhance the taste of your beverages. When mineral deposits build up inside the kettle, they can alter the flavor of your drinks, leaving an unpleasant aftertaste. By regularly cleaning and descaling your kettle, you can enjoy the true flavors of your favorite hot beverages without any unwanted residues.
1.3 Performance
Mineral deposits, or limescale, can affect the performance of your kettle. They can cause the heating element to work harder, leading to decreased efficiency and increased electricity consumption. By cleaning and descaling your kettle, you can maintain its optimal performance, ensuring faster boiling times and saving energy in the long run.
2. Tools and Materials Needed
2.1 Vinegar or Lemon Juice
Vinegar or lemon juice are excellent natural cleaning agents that can effectively remove limescale and disinfect your kettle. Both options are readily available, affordable, and safe to use.
2.2 Water
Water is essential for rinsing and diluting cleaning solutions. Always use fresh water when cleaning and descaling your kettle to ensure the best results.
2.3 Soft Cloth
A soft cloth is ideal for wiping the exterior of the kettle. It won’t scratch or damage the surface, leaving your kettle looking clean and shiny.
2.4 Sponge
A sponge can be used to apply cleaning solutions and scrub away stubborn stains on the exterior or interior of the kettle.
2.5 Toothbrush
A toothbrush with soft bristles can be useful for reaching tight spots, such as around the filter or spout, where limescale can accumulate.
2.6 Kettle Descaler
A kettle descaler is a specialized cleaning product designed to remove limescale quickly. It is available in both liquid and powder forms, depending on your preference.
2.7 Mild Dish Soap
Mild dish soap can be used to clean removable parts and the filter. Make sure to choose a gentle formula that won’t leave a residue or affect the taste of your beverages.

3. Cleaning the Exterior of the Kettle
3.1 Unplug the Kettle
Before starting the cleaning process, always unplug the kettle from the power source. This ensures your safety and prevents any accidents while handling liquids.
3.2 Remove Any Detachable Parts
If your kettle has any detachable parts, such as the lid or filter, remove them before cleaning. This allows for easier access and thorough cleaning of each component.
3.3 Wipe the Exterior with a Damp Cloth
Take a soft cloth and dampen it with water. Gently wipe the exterior surface of the kettle to remove any dust or stains. For stubborn stains, use a mild dish soap with the cloth. Be careful not to get any liquid inside the kettle.
3.4 Clean the Base
Don’t forget to clean the base of the kettle, as it can accumulate dust and spills. Use a damp cloth or sponge to wipe away any dirt. Ensure that the base is completely dry before reattaching the kettle.
3.5 Dry Thoroughly
After cleaning the exterior of the kettle, make sure to dry it thoroughly before reconnecting it to the power source. This prevents electrical issues and prolongs the lifespan of your kettle.
4. Removing Lime Scale from the Interior
4.1 Fill the Kettle with Vinegar or Lemon Juice
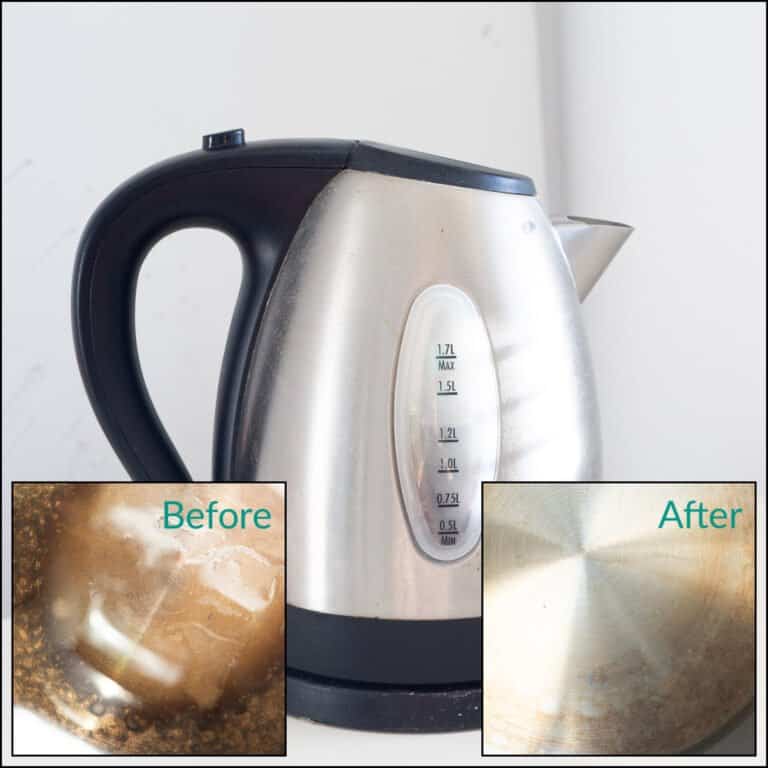
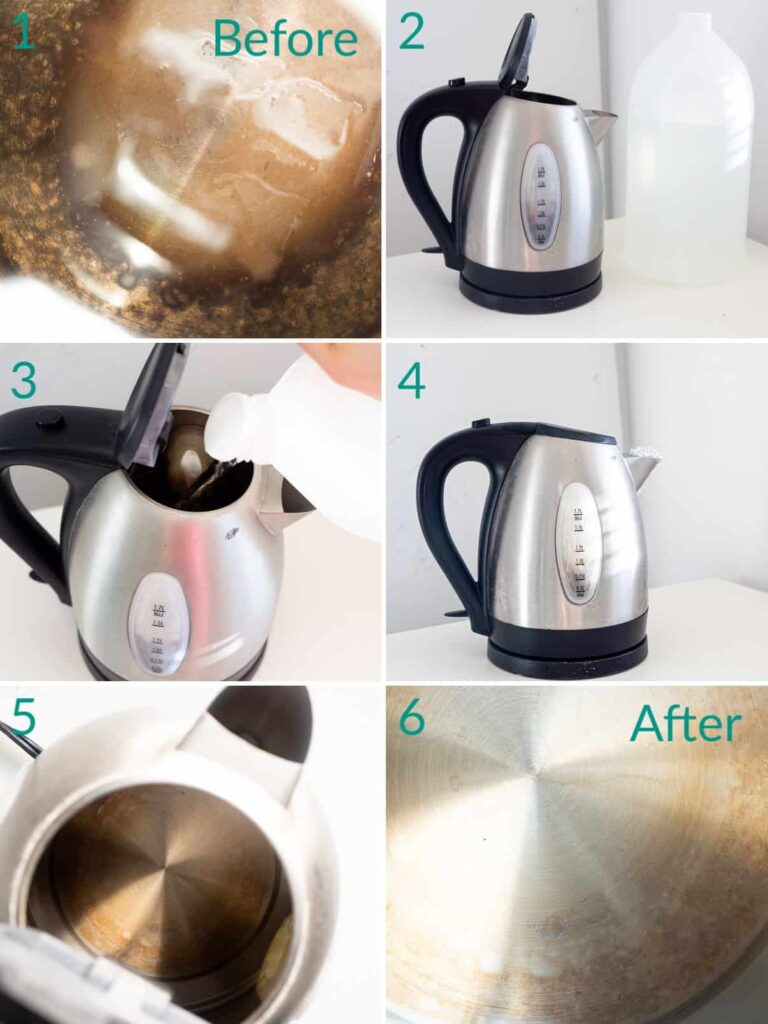
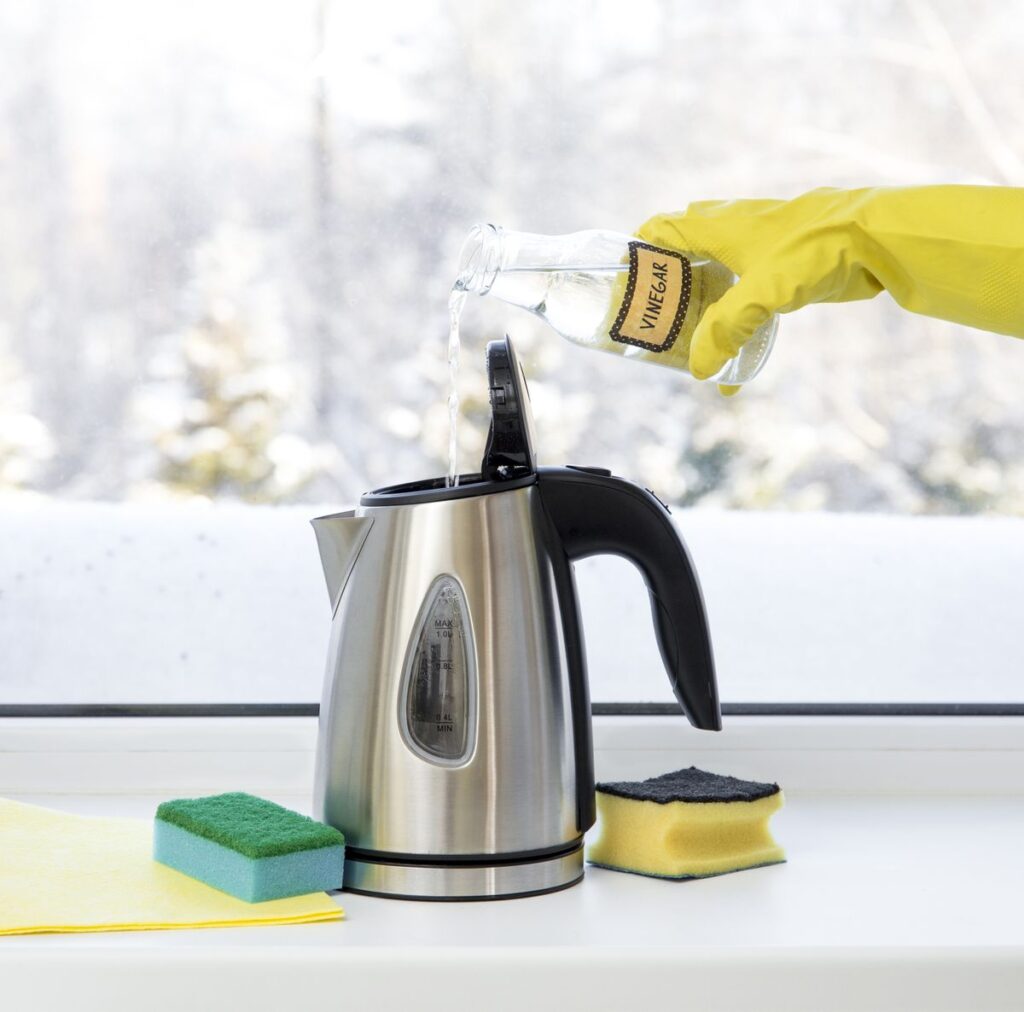
To remove limescale buildup inside the kettle, fill it with a mixture of equal parts vinegar or lemon juice and water. The acid in these solutions helps dissolve the mineral deposits. Make sure to fill the kettle enough to submerge the affected areas.
4.2 Let it Soak
Allow the vinegar or lemon juice solution to sit in the kettle for at least an hour. This gives the acid enough time to break down the limescale and makes it easier to remove.
4.3 Boil the Solution
After the soaking period, turn on the kettle and bring the solution to a boil. Allow it to boil for a few minutes. The heat helps further break down the limescale and aids in its removal.
4.4 Empty and Rinse
Once the solution has boiled, carefully pour it out into a sink. Rinse the kettle thoroughly with fresh water to remove any remaining vinegar or lemon juice. Repeat this step a few times to ensure there is no residual taste or odor.
4.5 Repeat if Necessary
If the limescale buildup is severe, you may need to repeat the process several times to completely remove it. Be patient and persistent, and remember to rinse the kettle thoroughly after each attempt.

5. Descaling with a Kettle Descaler
5.1 Prepare the Descaling Solution
If you prefer using a kettle descaler, follow the manufacturer’s instructions to prepare the descaling solution. These products are specifically formulated to remove limescale and often require mixing with water.
5.2 Add the Solution to the Kettle
Carefully pour the descaling solution into the kettle, making sure to cover the affected areas. Be cautious not to exceed the recommended dosage or overfill the kettle.
5.3 Boil the Solution
Turn on the kettle and bring the descaling solution to a boil. Allow it to boil for a few minutes, ensuring that the solution comes into contact with all the interior surfaces.
5.4 Empty and Rinse
Once the solution has boiled, pour it out and rinse the kettle thoroughly with fresh water. This removes any residue and ensures that no traces of the descaler remain.
5.5 Follow Manufacturer’s Instructions
Always read and follow the instructions provided by the manufacturer of the kettle descaler. Each product may have specific recommendations regarding usage and safety precautions.
6. Cleaning the Filter
6.1 Remove the Filter
If your kettle has a removable filter, carefully detach it from the kettle. Filters can collect debris and limescale over time, affecting the taste and efficiency of your drinks.
6.2 Rinse the Filter
Rinse the filter under running water to remove any loose debris or limescale. Gently rub the filter with your fingers to dislodge any stubborn buildup.
6.3 Clean with Mild Dish Soap
Fill a bowl or sink with warm water and add a few drops of mild dish soap. Place the filter in the soapy water and allow it to soak for a few minutes. Gently brush the filter with a soft toothbrush to remove any remaining residue.
6.4 Rinse and Dry Thoroughly
Once clean, rinse the filter thoroughly under running water to remove any soap residue. Shake off any excess water and pat it dry with a clean towel. Allow the filter to air dry completely before reattaching it to the kettle.
6.5 Reattach the Filter
Once the filter is dry, slide it back into its designated place in the kettle. Ensure it is securely attached and aligned properly. This allows for proper filtration and prevents any loose debris from entering your beverages.

7. Weekly Maintenance Tips
7.1 Use Fresh Water Each Time
For optimal taste and performance, use fresh water every time you boil the kettle. This prevents any potential contamination from previously boiled water or residual minerals.
7.2 Empty Any Remaining Water
After each use, make it a habit to empty any leftover water from the kettle. Stagnant water can lead to bacterial growth and subsequent foul odors. Emptying the kettle also prevents mineral deposits from settling at the bottom.
7.3 Wipe the Exterior Regularly
Keep the exterior of your kettle clean and free from dirt or spills by wiping it regularly with a soft, damp cloth. This simple maintenance routine helps maintain the kettle’s appearance and prolongs its lifespan.
7.4 Clean the Filter
Take a few minutes each week to clean the kettle filter. Rinse it under running water to remove any debris. This ensures that the filter remains unclogged, allowing for better water flow and improved filtration.
7.5 Deep Clean Monthly or As Needed
In addition to regular maintenance, it’s important to deep clean your kettle at least once a month or more frequently if needed. This involves descaling the interior and thoroughly cleaning all parts to prevent buildup and maintain optimal performance.
8. Preventing Limescale Buildup
8.1 Use Filtered Water
Consider using filtered water when filling your kettle. Filtering the water removes impurities and reduces the mineral content, minimizing the potential for limescale buildup.
8.2 Descale Regularly
To prevent limescale from accumulating, descale your kettle regularly. Frequent descaling helps remove any minor buildup and prevents it from turning into a more stubborn problem.
8.3 Avoid Overfilling
Only fill your kettle with the amount of water you need. Overfilling can lead to higher mineral concentration, resulting in more rapid limescale formation. By using the appropriate amount, you can reduce the buildup and extend the time between descaling sessions.
8.4 Empty the Kettle After Use
To prevent stagnant water and the subsequent growth of bacteria, make it a habit to empty the kettle after use. By emptying and cleaning the kettle regularly, you can significantly reduce the occurrence of limescale and maintain better overall hygiene.

9. Safety Precautions
9.1 Unplug the Kettle Before Cleaning
Always disconnect the kettle from the power source before starting the cleaning process. This eliminates the risk of electric shock and ensures your safety while handling liquids.
9.2 Allow the Kettle to Cool Down
Before cleaning, allow the kettle to cool down completely. Hot surfaces can cause burns or injuries when touched. Make sure the kettle is at room temperature before you begin.
9.3 Avoid Submerging Electrical Components
When cleaning, make sure to avoid submerging any electrical components, including the base or the power cord, in water. Doing so could damage the kettle and pose a safety hazard.
9.4 Follow Manufacturer’s Instructions
Always refer to the manufacturer’s instructions or user manual when cleaning and descaling your kettle. They may provide specific guidance or recommendations tailored to your kettle model.
9.5 Ventilate the Area if Using Harsh Chemicals
If you are using harsh chemicals or strong cleaning agents, ensure that the area is well-ventilated. Open windows or doors to allow fresh air in and prevent inhaling any harmful fumes.
10. Troubleshooting Common Issues
10.1 Persistent Lime Scale
If you are experiencing persistent limescale buildup even after descaling, it may be necessary to use a more powerful descaler or consult a professional. Persistent limescale can affect the functionality and lifespan of your kettle.
10.2 Unpleasant Odor
If your kettle has an unpleasant odor, even after cleaning, try boiling a mixture of water and lemon juice or vinegar. This can help eliminate any lingering smells and freshen the interior of the kettle.
10.3 Filter Clogging
If the filter in your kettle frequently clogs, try rinsing it more regularly or replacing it if necessary. A clogged filter can affect the taste and performance of your beverages.
10.4 Malfunctioning Kettle
If your kettle is malfunctioning, such as not boiling water properly or not turning on, it may be time to consult a professional or contact the manufacturer for assistance. Do not attempt to repair electrical issues yourself to avoid potential hazards.
Cleaning and descaling your kettle is a simple yet essential task that helps maintain its longevity, performance, and ensures a clean and healthy brewing environment. By following these comprehensive steps and adopting a regular maintenance routine, you can enjoy delicious, odor-free hot beverages without any worries. Cheers to a clean and perfectly functioning kettle!


