Are you the proud owner of a portable ice maker, but not quite sure how to keep it in top-notch condition? Well, look no further! In this ultimate guide, we will walk you through the step-by-step process of cleaning and maintaining your beloved ice maker. From removing mineral build-up to ensuring optimal performance, we’ve got you covered. By the end of this article, you’ll be equipped with all the knowledge you need to keep your portable ice maker running smoothly, providing you with refreshing ice cubes every time you need them. Let’s get started!

This image is property of www.christinekeys.net.
1. Cleaning and Maintaining Your Portable Ice Maker
1.1. Introduction
Welcome to the ultimate guide on cleaning and maintaining your portable ice maker! In this comprehensive article, we will cover all the necessary steps and techniques to ensure that your ice maker remains in optimal condition. By following these instructions, you can prolong the lifespan of your appliance and enjoy clean, fresh ice whenever you need it.
1.2. Importance of Regular Cleaning
Regular cleaning of your portable ice maker is crucial for several reasons. First and foremost, it helps maintain the quality and purity of the ice it produces. Over time, bacteria and impurities can accumulate within the machine, compromising the taste and overall hygiene of the ice. Additionally, a clean ice maker ensures efficient operation and prevents any build-up that could potentially damage the appliance.
1.3. Necessary Cleaning Supplies
Before we dive into the cleaning process, let’s gather the necessary supplies. To effectively clean your portable ice maker, you will need the following:
- Mild dish soap or ice maker cleaner: Choose a cleaner specifically designed for ice makers to ensure safe and thorough cleaning.
- Warm water: Use warm water to create a cleaning solution.
- Soft cloth or sponge: This will be used to wipe down the exterior surfaces of the ice maker.
- Toothbrush or soft-bristle brush: A small brush will come in handy for reaching tight corners and cleaning hard-to-reach areas.
- Paper towels: These are useful for drying various components of the ice maker.
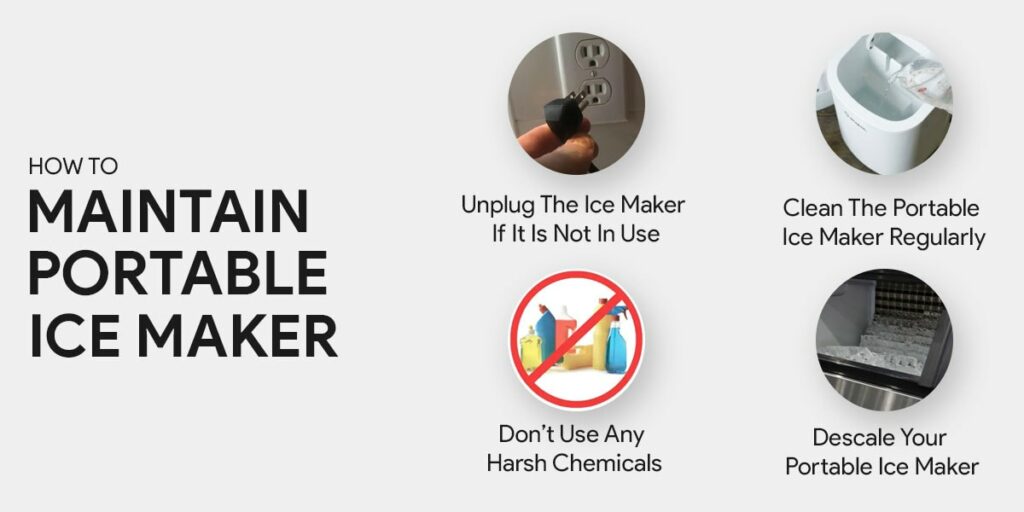
- Descaling solution: If your ice maker requires descaling, make sure to have a descaling solution that is compatible with your appliance.
Now that we have all our cleaning supplies ready, let’s proceed to the cleaning process step by step.
2. Preparing Your Ice Maker for Cleaning
2.1. Unplugging and Emptying the Ice Maker
Begin the cleaning process by unplugging your portable ice maker from the power source. This step is essential to ensure your safety during the cleaning process. Next, remove any remaining ice from the ice maker and discard it. It is important to start the cleaning process with an empty machine to avoid any contamination.
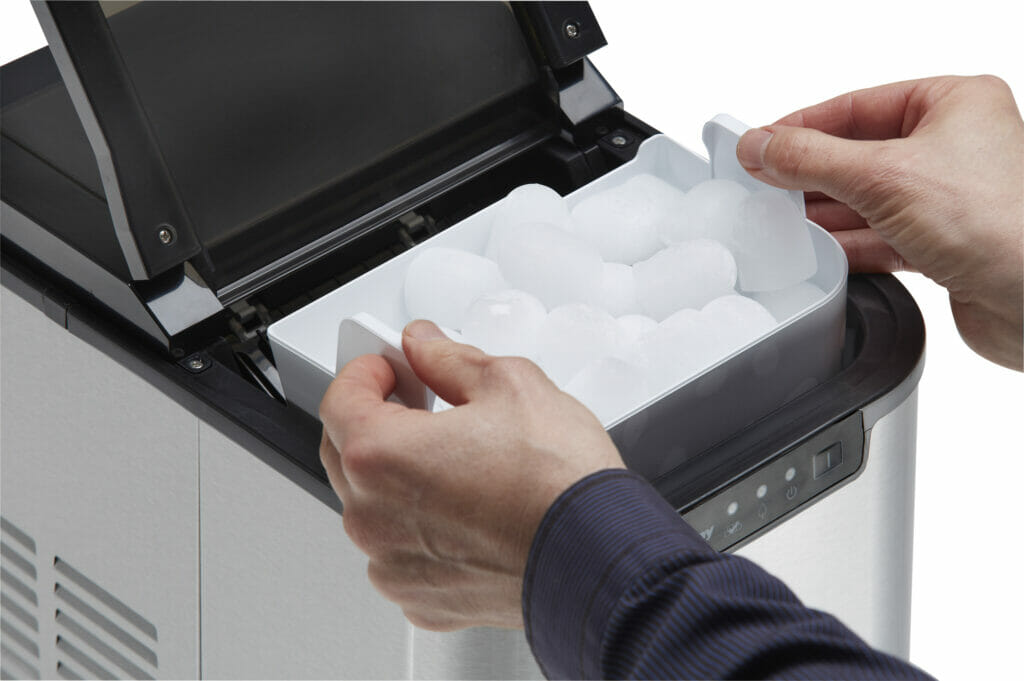
2.2. Removing and Cleaning the Ice Tray
Carefully remove the ice tray from the portable ice maker. Depending on the model, the ice tray may lift out or require some gentle twisting to remove. Once the ice tray is detached, wash it thoroughly with warm water and mild dish soap. Use a toothbrush or soft-bristle brush to clean any residue or mineral deposits. Rinse the tray thoroughly to remove any soap residue and set it aside to air dry.
This image is property of cdnweb.danby.com.
3. Cleaning the Exterior of Your Ice Maker
3.1. Wiping Down the Exterior Surfaces
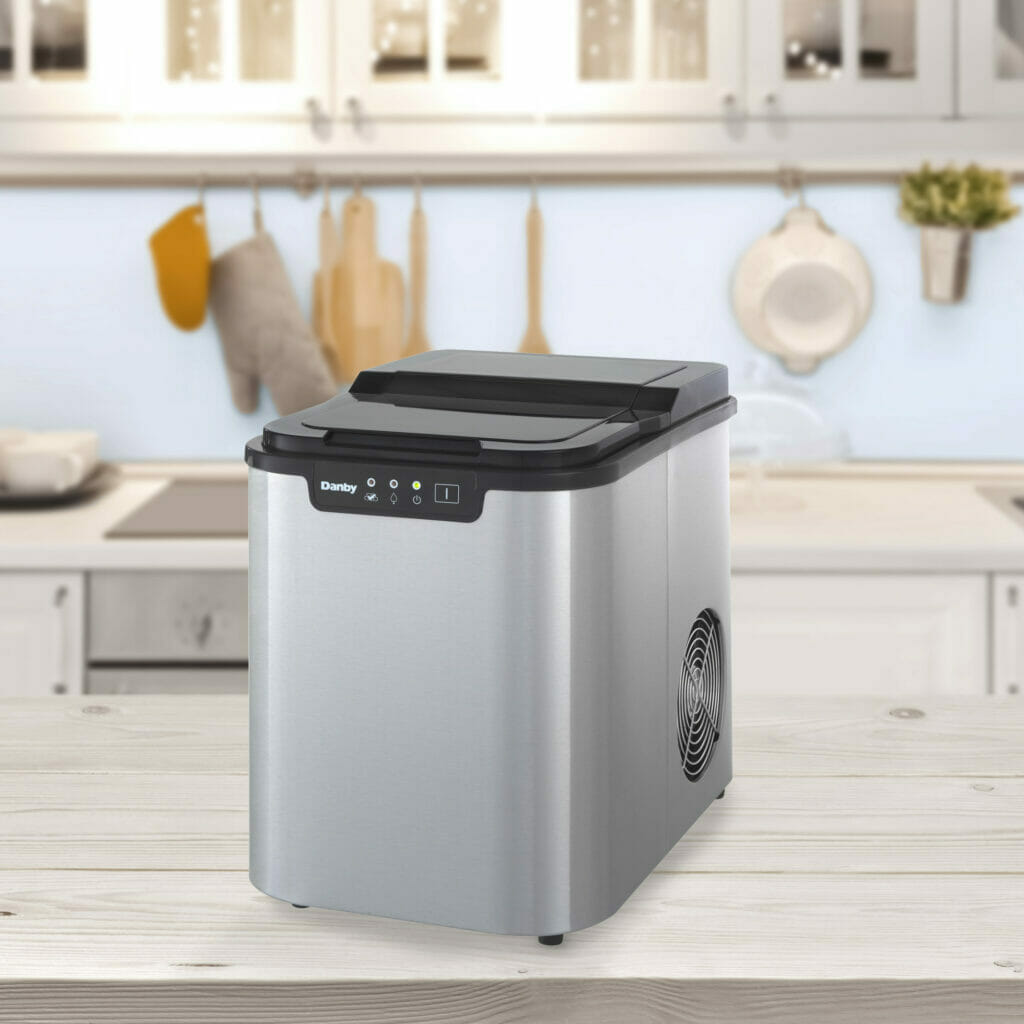
Now let’s focus on cleaning the exterior surfaces of your portable ice maker. Take a soft cloth or sponge and dampen it with soapy water. Gently wipe down the exterior of the machine, paying attention to areas that may accumulate dust or grime. Be cautious around the control panel and other sensitive areas to avoid damage.
3.2. Cleaning the Control Panel and Buttons
To clean the control panel and buttons, use a slightly damp cloth or sponge. Avoid using excessive water to prevent any damage to the electronics. Gently wipe down the buttons and control panel, ensuring that no moisture enters any of the openings. Dry the control panel thoroughly with a clean, dry cloth.
4. Cleaning the Water Reservoir
4.1. Draining and Removing the Water Reservoir
To clean the water reservoir of your portable ice maker, you first need to drain and remove it. Locate the drain plug, usually located at the bottom of the unit. Place a container or basin under the drain to collect the water. Carefully remove the drain plug and allow the water to drain completely.
Once the water is drained, detach the water reservoir from the ice maker. Depending on the model, it may be connected by screws or other fasteners. Follow the manufacturer’s instructions to safely and properly remove the reservoir.
4.2. Cleaning the Reservoir
To clean the water reservoir, wash it with warm soapy water using a sponge or soft cloth. Pay special attention to any mineral deposits or residue that may have built up over time. If necessary, use a toothbrush or soft-bristle brush to scrub the reservoir gently. Rinse the reservoir thoroughly to remove any soap residue and allow it to air dry completely before reattaching it to the ice maker.
This image is property of cdnweb.danby.com.
5. Descaling Your Ice Maker
5.1. Importance of Descaling
Descaling is an essential process for removing mineral deposits and scaling that may accumulate within your portable ice maker. Over time, hard water minerals can build up and affect the performance and efficiency of the machine. Regular descaling helps maintain optimal ice production and keeps your ice maker running smoothly.
5.2. Descaling Frequency
The frequency of descaling largely depends on the hardness of your water and how often you use the ice maker. As a general guideline, it is recommended to descale your portable ice maker every three to six months. However, if you notice a decrease in ice production or quality, it may be necessary to descale more frequently.
5.3. Descaling Process
To descale your ice maker, begin by referring to the manufacturer’s instructions for specific descaling procedures, as they may vary depending on the model. Generally, the process involves preparing a descaling solution by mixing the appropriate amount of descaling solution with water. Follow the instructions on the descaling solution packaging for accurate measurements.
Once the solution is prepared, pour it into the water reservoir of the ice maker. Plug in the machine and allow it to cycle through the ice-making process, effectively descaling the internal components. Dispose of the first batch of ice produced after descaling, as it may contain traces of the descaling solution. Be sure to thoroughly rinse the water reservoir and run a few cycles with clean water to remove any remaining solution before using the ice maker again.
6. Cleaning the Ice Bin
6.1. Emptying and Removing the Ice Bin
To clean the ice bin, begin by emptying it of any ice that may be present. Discard the ice or use it immediately, as keeping it for too long may affect the quality. Next, detach the ice bin from the ice maker. Refer to the manufacturer’s instructions to safely remove the bin, as the process may vary depending on the model.
6.2. Washing and Drying the Ice Bin
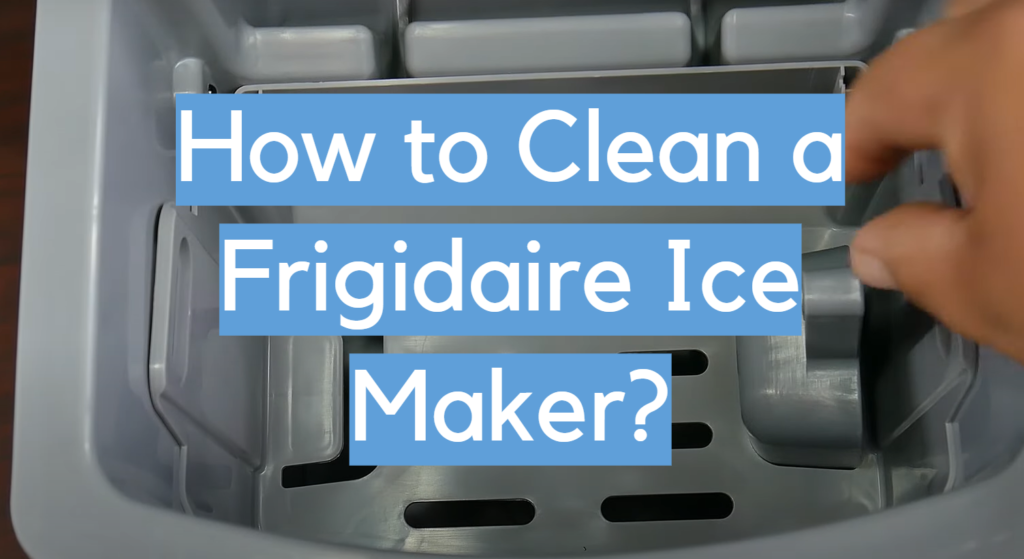
Once removed, wash the ice bin with warm, soapy water using a sponge or cloth. Pay attention to any residue or stains, and use a toothbrush or soft-bristle brush to clean hard-to-reach areas. Rinse the ice bin thoroughly to remove any soap residue and allow it to air dry completely. Ensure that the bin is completely dry before reattaching it to the ice maker.
7. Cleaning and Replacing the Filter
7.1. Checking the Filter Status
Many portable ice makers come equipped with filters to ensure the quality of the ice produced. Refer to the manufacturer’s instructions to locate the filter and check its status. Depending on the model, the filter may need regular cleaning or replacement.
7.2. Cleaning the Filter
If your ice maker’s filter is washable, follow the manufacturer’s instructions to remove the filter and clean it. Gently rinse the filter under warm, running water to remove any debris or impurities. Avoid using soap or harsh cleansers, as they may damage the filter. Allow the filter to air dry completely before reinstalling it into the ice maker.
7.3. Replacing the Filter
For filters that are not washable, follow the manufacturer’s guidelines for proper replacement. Ensure that you use the correct replacement filter designed for your specific ice maker model. Install the new filter according to the instructions provided, making sure it is securely in place before using the ice maker again.
8. Cleaning the Condenser Coils
8.1. Locating the Condenser Coils
The condenser coils of your portable ice maker are responsible for transferring heat and should be kept clean to maintain optimal performance. Refer to the manufacturer’s instructions to locate the condenser coils, as their position may vary depending on the model.
8.2. Cleaning the Condenser Coils
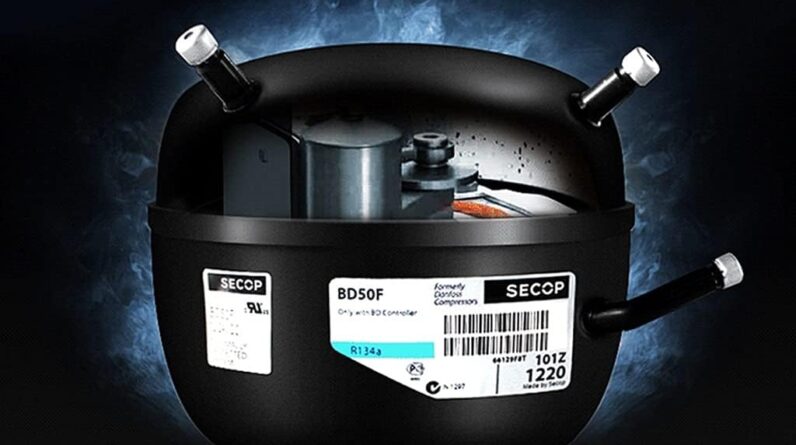
To clean the condenser coils, use a soft brush or vacuum attachment to gently remove any dust or debris. Be cautious when cleaning to avoid damaging the coils or any nearby components. Ensure that the coils are completely free of dust and dirt, as accumulated debris can hinder the cooling process. Regularly cleaning the condenser coils will ensure the proper functioning and longevity of your portable ice maker.
This image is property of pesosice.com.
9. Ensuring Proper Drainage
9.1. Checking and Clearing the Drain Hose
Proper drainage is essential for the efficient operation of your portable ice maker. Over time, the drain hose can become clogged with debris or mineral deposits. Regularly check the drain hose for any blockages and clear them as needed. Use a small brush or pipe cleaner to gently remove any obstructions, ensuring that the drain hose remains clear and unobstructed.
9.2. Maintaining Proper Water Flow
In addition to clearing the drain hose, it is important to maintain proper water flow within your ice maker. Check the water inlet valve and tubing for any deposits or blockages that may restrict the water flow. If necessary, clean these components using a soft cloth or brush to ensure that water can flow freely into the ice maker.
10. Storing Your Ice Maker
10.1. Draining all Water
If you plan to store your portable ice maker for an extended period or during periods of non-use, it is important to drain all water from the machine. Follow the manufacturer’s instructions to safely drain the remaining water from the water reservoir, ice tray, and any other components that may contain water. Allowing water to sit stagnant in the machine can lead to mold or bacterial growth.
10.2. Cleaning and Drying the Ice Maker
Before storing your ice maker, give it a thorough cleaning following the steps outlined in this guide. Ensure that all components, including the water reservoir, ice tray, and ice bin, are clean and completely dry. Use a soft cloth or paper towels to dry all surfaces, paying special attention to areas that may accumulate moisture.
10.3. Proper Storage Procedures
To properly store your portable ice maker, place it in a clean, dry location free from excess moisture or extreme temperatures. Most ice makers come with a storage cover or bag to protect it from dust and debris, so use these if available. Additionally, store the ice maker in an upright position to prevent any potential damage to internal components.
By following these comprehensive cleaning and maintenance steps, you can ensure that your portable ice maker remains in optimal condition and continues to provide you with clean and refreshing ice whenever you need it. Remember to consult the manufacturer’s instructions for specific guidance and recommendations for your particular ice maker model. Happy ice making!
