If you’ve ever opened your refrigerator and been greeted with an overwhelming mess of expired food and spilled liquids, then this article is here to help. In “The Ultimate Guide to Cleaning and Organizing Your Refrigerator,” you’ll discover top tips and tricks to tackle this daunting task with ease. From step-by-step cleaning methods to clever storage solutions, this guide will transform your refrigerator into a clean and organized haven for all your delicious goodies. Say goodbye to the chaos and hello to a fresh, well-organized fridge that will make your life so much easier.
This image is property of www.mydomaine.com.
The Ultimate Guide to Cleaning and Organizing Your Refrigerator
Keeping your refrigerator clean and organized is essential for maintaining food safety and efficiency. With a few simple steps, you can ensure that your fridge is not only sparkling clean but also properly organized for optimal storage. In this comprehensive guide, we will walk you through the process of emptying and preparing your refrigerator, cleaning the interior and exterior, dealing with stubborn stains and odors, organizing your fridge, establishing good maintenance practices, tips for energy efficiency, creating a cleaning schedule, and ensuring food safety.
1. Emptying and Preparing the Refrigerator
1.1 Removing all items from the refrigerator
Before you begin cleaning, it’s crucial to remove all items from your refrigerator. Take everything out, including food items, shelves, drawers, and any removable parts. This will allow you to clean the refrigerator thoroughly and prevent any items from getting damaged during the cleaning process.
1.2 Turning off and unplugging the refrigerator
To ensure your safety and conserve energy, it’s important to turn off and unplug the refrigerator during the cleaning process. Locate the power switch or unplug the fridge from the electrical outlet. This will prevent accidents and give you easier access to clean all areas of the refrigerator.
1.3 Gathering cleaning supplies
Before you start cleaning, gather all the necessary cleaning supplies. You will need mild detergent or baking soda, warm water, microfiber cloths, a sponge, an old toothbrush, and a vacuum cleaner with a brush attachment. Having all the supplies ready will make the process more efficient and ensure that you have everything you need to clean your refrigerator effectively.
This image is property of www.mydomaine.com.
2. Cleaning the Interior of the Refrigerator
2.1 Removing shelves, drawers, and other removable parts
Start by removing the shelves, drawers, and any other removable parts from your refrigerator. Take them to your sink or a designated cleaning area. These parts should be cleaned separately to ensure a thorough cleaning process.
2.2 Cleaning the interior walls and ceiling
Using a mixture of mild detergent or baking soda and warm water, dampen a microfiber cloth or sponge. Gently wipe down the interior walls and ceiling of your refrigerator. Pay close attention to any spills or stains and use an old toothbrush to scrub away any residue in hard-to-reach corners or crevices.
2.3 Cleaning shelves, drawers, and other removable parts
For the shelves, drawers, and other removable parts, soak them in warm soapy water for a few minutes. Use a soft sponge or cloth to clean them, removing any stuck-on food or stains. Rinse thoroughly with warm water and allow them to air dry before placing them back in the refrigerator.
2.4 Cleaning the door gaskets
The door gaskets, also known as the rubber seals, can accumulate dirt and grime over time. Use a damp cloth or sponge with mild detergent to clean these gaskets thoroughly. Pay attention to any mold or mildew growth and use a toothbrush to clean the crevices. Dry the gaskets with a clean cloth to prevent any moisture buildup.
2.5 Cleaning the condenser coils
The condenser coils, usually located at the back or underneath the refrigerator, can collect dust and debris. Unplug the refrigerator and use a vacuum cleaner with a brush attachment to gently remove any dirt or dust from the coils. Regularly cleaning the coils will ensure optimal cooling efficiency and prolong the lifespan of your fridge.
3. Cleaning the Exterior of the Refrigerator
3.1 Cleaning the exterior surface
Using a mild detergent or an all-purpose cleaner, wipe down the exterior surface of your refrigerator with a microfiber cloth. Pay attention to any fingerprints, smudges, or stains. For stubborn stains, use a soft sponge and gentle scrubbing motions. Dry the surface with a clean cloth to prevent streaks or watermarks.
3.2 Cleaning the door handles
The door handles of your refrigerator can accumulate dirt and bacteria from frequent use. Wipe them down with a disinfecting wipe or a cloth dampened with a mild cleaning solution. Pay attention to any crevices or grooves where dirt may accumulate. Regular cleaning of door handles will prevent the spread of germs and maintain a hygienic environment.
3.3 Cleaning the control panel
If your refrigerator has a control panel, be sure to clean it regularly to prevent the buildup of dirt and grime. Use a damp cloth or a disinfecting wipe to gently clean the panel. Avoid using excessive water or cleaning solutions that may damage the electronic components. Dry the control panel thoroughly to avoid any potential damage.
3.4 Cleaning the top of the refrigerator
Often overlooked, the top of your refrigerator can accumulate dust and debris. Use a microfiber cloth or a duster to remove any dirt or dust from the top surface. Regularly cleaning the top of your refrigerator will prevent the accumulation of dust that can affect the air quality in your kitchen.
This image is property of www.sandravalvassori.com.
4. Thoroughly Cleaning the Freezer Compartment
4.1 Defrosting the freezer if necessary
If your freezer has a significant amount of ice buildup, it’s essential to defrost it before cleaning. Unplug the refrigerator or locate the defrost button, if available, to initiate the defrosting process. Allow the ice to melt naturally or use a hairdryer on a low setting to speed up the process. Place towels or a tray underneath to collect any water.
4.2 Removing all items from the freezer
Similar to cleaning the refrigerator, remove all items from the freezer, including food, shelves, and drawers. Discard any expired or freezer-burned items. This will make it easier to clean and organize the freezer effectively.
4.3 Cleaning the interior walls and ceiling of the freezer
Using a mixture of mild detergent or baking soda and warm water, dampen a microfiber cloth or sponge. Gently wipe down the interior walls and ceiling of the freezer. Remove any ice buildup or stubborn stains using a plastic scraper or an old credit card. Thoroughly rinse the surfaces with warm water and dry them with a clean cloth.
4.4 Cleaning shelves, drawers, and other removable parts of the freezer
Just like with the refrigerator, soak the shelves, drawers, and other removable parts of the freezer in warm soapy water. Use a soft sponge or cloth to clean them, ensuring no residue or stains remain. Rinse thoroughly with warm water and allow them to air dry before placing them back inside the freezer.
4.5 Cleaning the freezer door gasket
Similar to the refrigerator door gaskets, use a damp cloth or sponge with mild detergent to clean the freezer door gasket. Pay attention to any mold or mildew growth in the gasket folds and use a toothbrush to clean those areas. Dry the gasket with a clean cloth to prevent any moisture buildup.
5. Dealing with Stubborn Stains and Odors
5.1 Removing tough stains
If you encounter stubborn stains during the cleaning process, there are a few solutions you can try. For tough stains on the interior walls or shelves, create a paste using baking soda and water. Apply the paste to the stain, let it sit for a few minutes, and then gently scrub with a sponge or brush. Rinse thoroughly and wipe dry. For stains on the exterior surface, consult the manufacturer’s guidelines or use an appropriate cleaner for the specific material of your refrigerator.
5.2 Eliminating odors
To eliminate odors from your refrigerator, there are simple yet effective solutions. Place an open box of baking soda or activated charcoal in your fridge to absorb unwanted odors. Additionally, wiping down the interior surfaces with a mixture of equal parts water and vinegar can help eliminate odor-causing bacteria. Be sure to rinse and dry thoroughly afterward.
5.3 Using natural cleaning solutions
If you prefer to use natural cleaning solutions, there are several options available. Lemon juice can be used to remove stains and neutralize odors. Vinegar is a great all-purpose cleaner and can be used to tackle tough stains and kill bacteria. Baking soda is a natural deodorizer, and its abrasive nature helps remove stains. These natural solutions are a safe and eco-friendly option for cleaning and freshening your refrigerator.
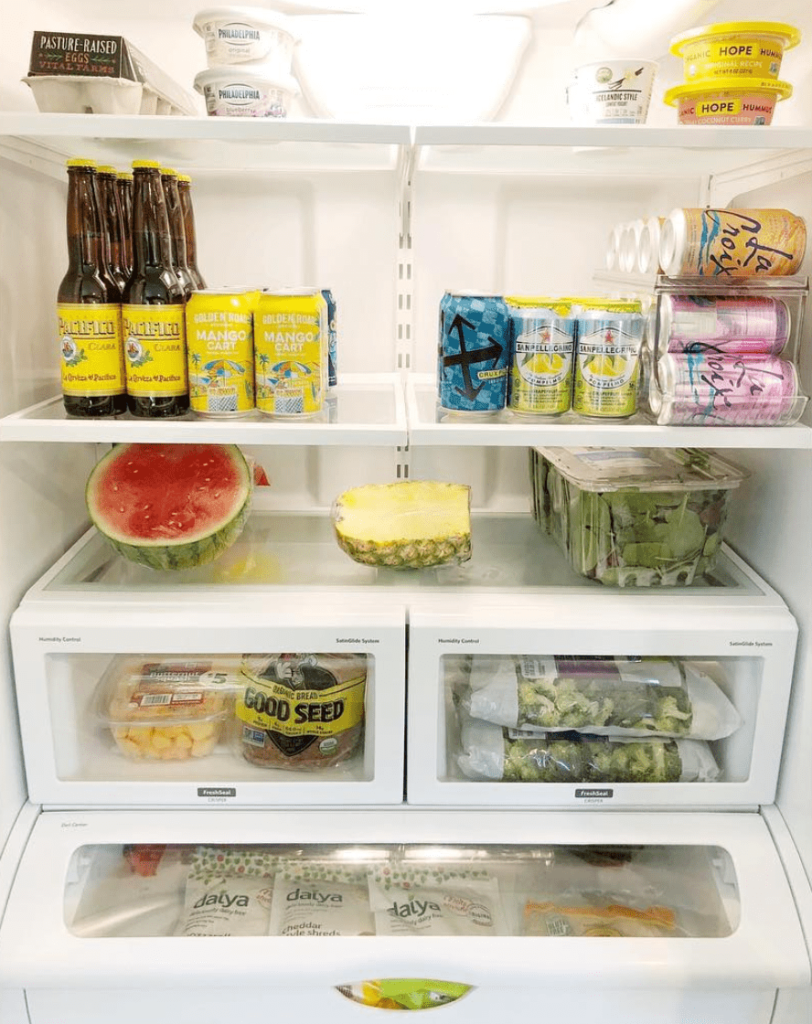
This image is property of www.mydomaine.com.
6. Organizing the Refrigerator
6.1 Categorizing and grouping items
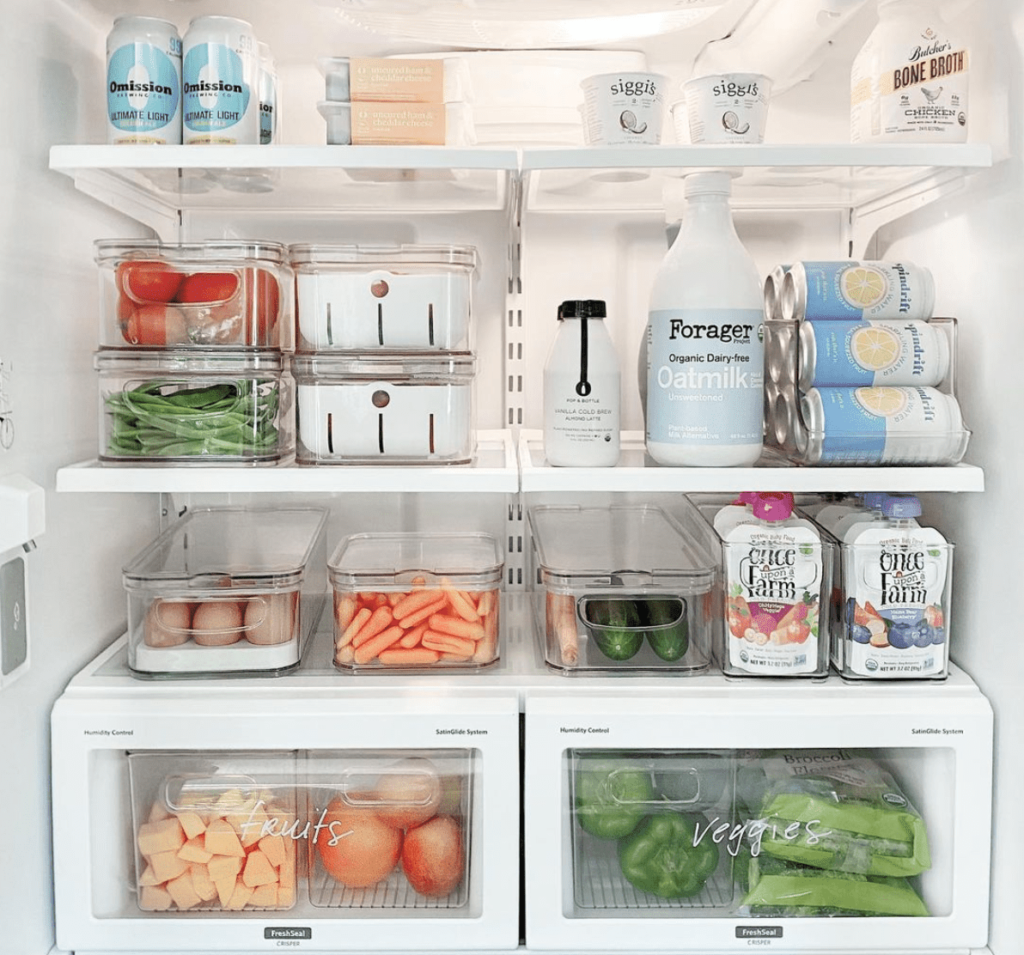
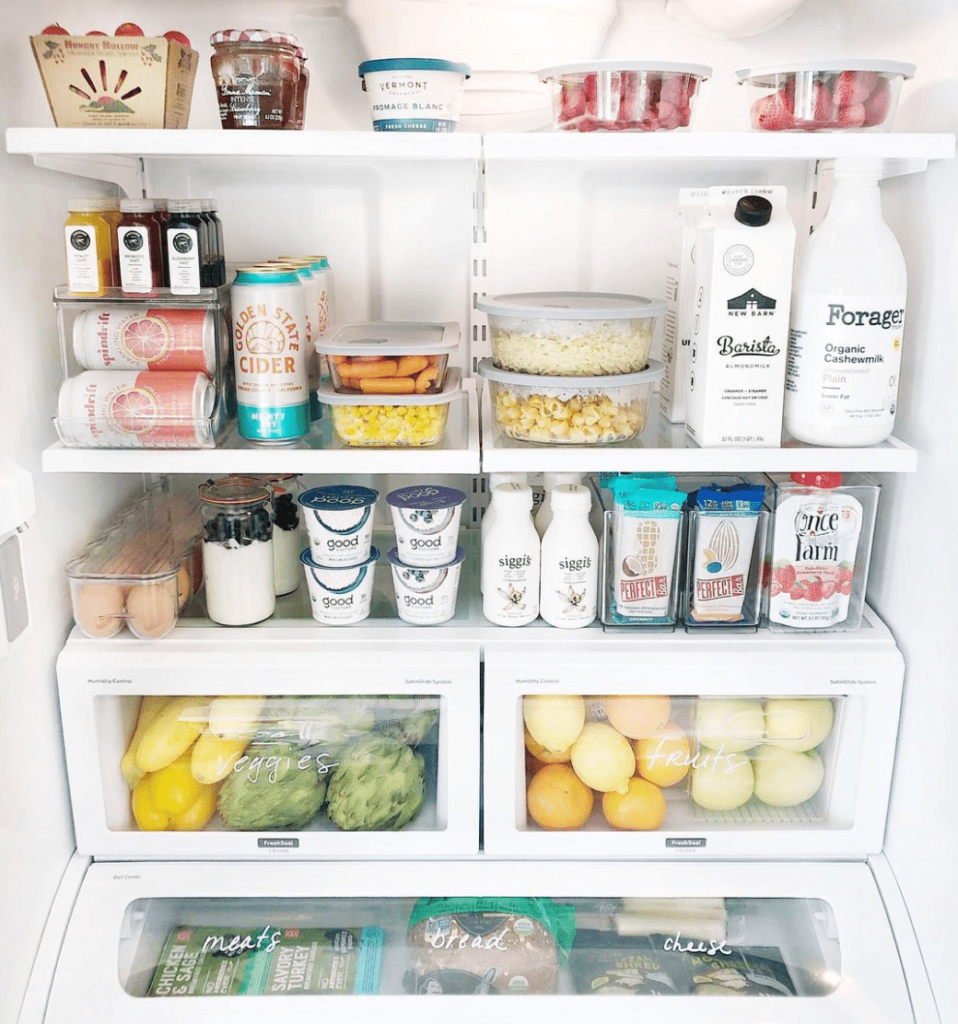
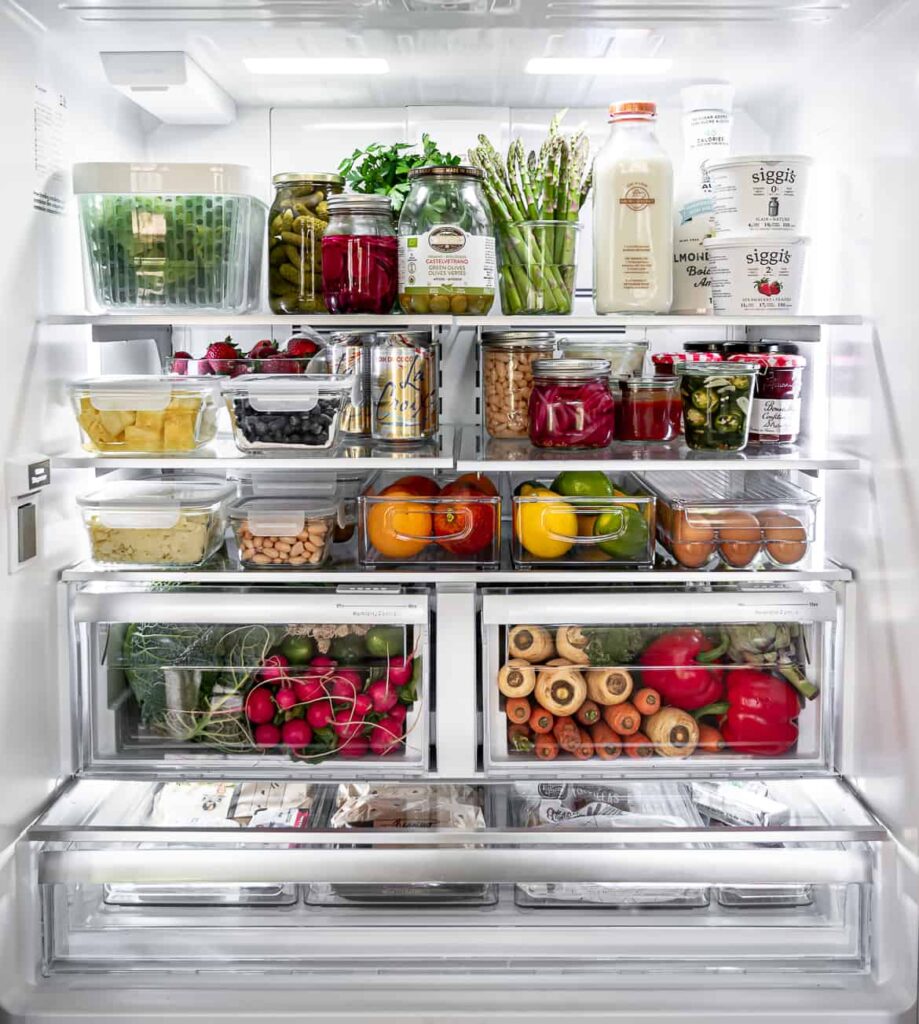
To keep your refrigerator organized, start by categorizing and grouping similar items together. Keep fruits, vegetables, dairy, and meats separate to prevent cross-contamination and make it easier to find what you need. Utilize clear storage containers or bins to further group similar items and keep them organized within the fridge.
6.2 Using storage containers and bins
Maximize the available space in your refrigerator by using storage containers and bins. These help keep items separate, reduce clutter, and make it easier to access what you need. Use stackable containers and bins to utilize vertical space effectively. Label containers to make it easy to identify the contents and maintain an organized fridge.
6.3 Maximizing shelf space
Make the most of your shelf space by utilizing organizers like stackable shelves or expandable racks. These allow you to create additional layers within the fridge and make it easier to see and access items. Consider storing taller items on the back of the shelves to maximize the available space.
6.4 Utilizing door storage
The refrigerator door is an often overlooked storage space. Utilize this area efficiently by storing condiments, jars, and bottles in designated door shelves. Remember to check product labels for refrigeration requirements, as some items may need to be stored in the main part of the fridge for optimal freshness.
6.5 Creating a system for leftovers
Prevent food waste and keep track of leftovers by creating a system for organizing them. Use clear containers or labeled storage bags to store and date leftovers. Place them in a designated area within the fridge, such as a dedicated shelf, to ensure they are easily visible and consumed promptly.
6.6 Keeping a refrigerator inventory
Maintain an inventory of your refrigerator contents to help with meal planning and prevent waste. Use a simple whiteboard or a digital app to track items, their expiration dates, and quantities. Regularly update the inventory to ensure you are aware of what needs to be used or replenished.
7. Establishing Good Practices for Maintenance
7.1 Regularly checking expiration dates
An essential part of maintaining a clean and organized refrigerator is regularly checking expiration dates. Remove any expired food items to prevent the growth of bacteria and the development of unpleasant odors. Take note of items that are nearing their expiration dates and plan your meals accordingly.
7.2 Rotating food items
To prevent food waste and ensure freshness, practice food rotation in your refrigerator. Arrange products with the earliest expiration dates towards the front, making them more visible and accessible. This will help ensure that older items are used first and prevent any forgotten or expired items from cluttering your fridge.
7.3 Cleaning up spills immediately
Accidents happen, but it’s important to clean up spills or leaks in your refrigerator immediately. This prevents any potential cross-contamination and avoids sticky residue that can be difficult to remove later. Keep a supply of paper towels or cleaning cloths nearby for quick and easy cleanup.
7.4 Avoiding overcrowding
While it may be tempting to fill your refrigerator to its maximum capacity, overcrowding can hinder proper airflow and lead to spoilage. Leave space between items for air circulation and maintain an organized layout. This will ensure that food remains at the appropriate temperature and help your refrigerator function efficiently.
7.5 Maintaining proper temperature settings
Proper temperature settings are crucial for food safety and preservation. Keep your refrigerator temperature between 35°F and 38°F (1.7°C to 3.3°C) and your freezer at 0°F (-18°C) or below. Use a refrigerator thermometer to periodically monitor the temperature and make adjustments if necessary.
7.6 Performing routine maintenance tasks
In addition to regular cleaning, perform routine maintenance tasks to keep your refrigerator in optimal condition. This includes occasionally wiping down the exterior surface, cleaning the condenser coils, and checking door seals for proper sealing. Maintaining these tasks will help prolong the lifespan of your refrigerator and ensure its efficient operation.
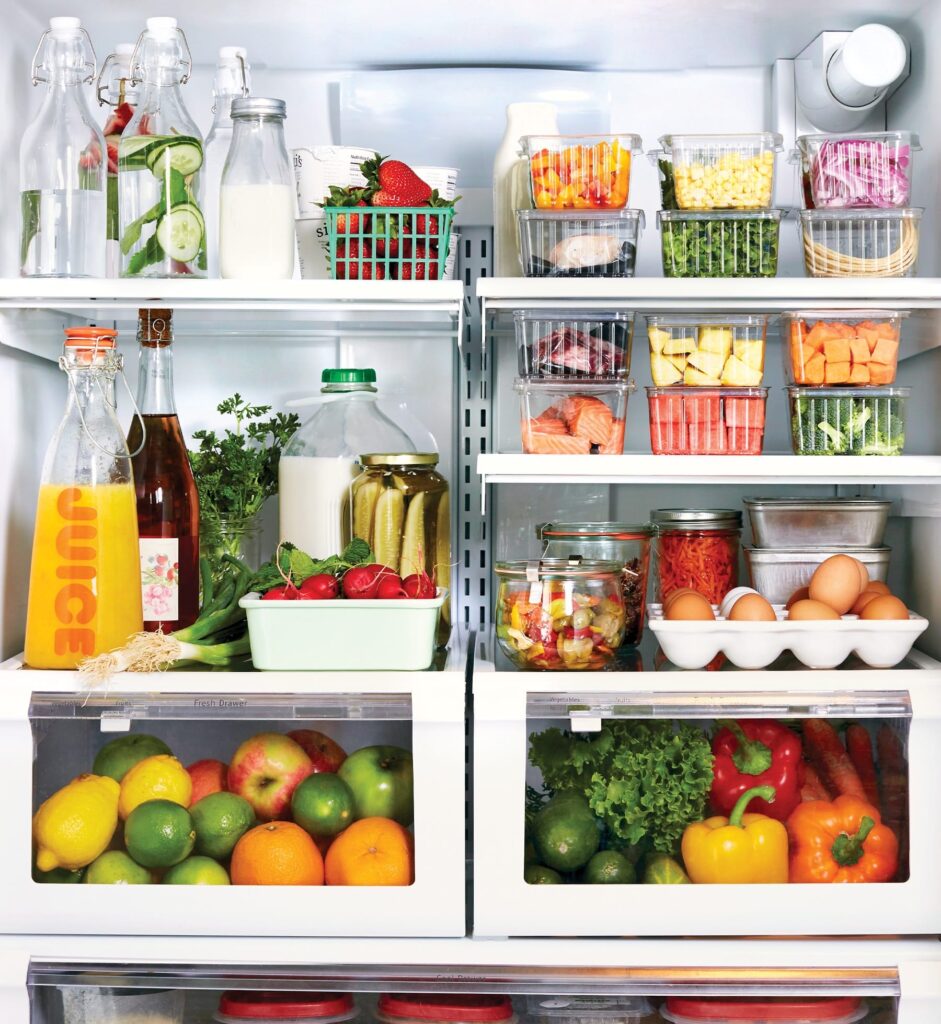
This image is property of www.naturefresh.ca.
8. Tips for Energy Efficiency
8.1 Keeping the refrigerator full
Maintaining a well-stocked refrigerator can actually be more energy-efficient than keeping it partially empty. The items inside act as thermal mass, helping to maintain a stable temperature even when the door is opened. However, avoid overfilling the refrigerator as this can impede proper airflow and cooling.
8.2 Positioning the refrigerator properly
The placement of your refrigerator can impact its energy efficiency. Ensure there is sufficient space around the refrigerator for proper airflow. Avoid placing it near heat sources such as ovens or direct sunlight, as this can cause the refrigerator to work harder to maintain the desired temperature.
8.3 Allowing for proper airflow
Proper airflow is essential for your refrigerator’s cooling system to work efficiently. Avoid blocking air vents or obstructing the fan located in the freezer compartment. Be mindful when arranging items on shelves to promote airflow and ensure cool air circulates throughout the refrigerator.
8.4 Regularly defrosting the freezer
A thick layer of ice in the freezer can restrict airflow and hinder energy efficiency. Regularly defrost your freezer to keep it running optimally. Refer to the manufacturer’s guidelines for the recommended frequency of defrosting or do so when the ice layer reaches a thickness of around 1/4 inch.
8.5 Adjusting the temperature settings
If your refrigerator has adjustable temperature settings, consider adjusting them based on your usage patterns and the changing seasons. In colder climates or during periods of low usage, slightly raise the temperature settings to conserve energy. Ensure the temperature remains within the safe range for food storage.
9. Creating a Cleaning Schedule
9.1 Determining a cleaning frequency
Creating a cleaning schedule will help ensure that your refrigerator remains clean and organized on a regular basis. Determine how often you need to clean your refrigerator based on factors such as household size, usage, and personal preference. Most households find a monthly or quarterly cleaning schedule to be effective.
9.2 Setting aside dedicated time for cleaning
Choose a time that works best for you and set it aside as dedicated cleaning time for your refrigerator. Whether it’s a weekend morning or a weekday evening, consistency is key. Cleaning your refrigerator regularly will prevent the buildup of dirt and bacteria and make the process quicker and more manageable.
9.3 Assigning cleaning responsibilities
If you live with others, involving everyone in the cleaning process can help distribute the workload and ensure that everyone takes responsibility for maintaining a clean and organized refrigerator. Assign specific tasks to each person, such as cleaning shelves or checking expiration dates, and rotate responsibilities to promote fairness.
10. Ensuring Food Safety
10.1 Understanding food storage guidelines
Proper understanding of food storage guidelines is essential for maintaining food safety in your refrigerator. Different types of food require specific storage conditions. Familiarize yourself with recommended storage times, temperatures, and any specific handling instructions for different food categories.
10.2 Properly storing raw and cooked foods
To prevent cross-contamination and preserve the quality of your food, it’s important to properly store raw and cooked foods. Keep raw meats, poultry, and seafood on the bottom shelf to prevent their juices from dripping onto other foods. Store cooked foods in covered containers to maintain freshness and prevent odors from spreading.
10.3 Using food storage containers
Invest in high-quality food storage containers to keep your food fresh and organized. Choose airtight containers that are BPA-free and suitable for refrigerator use. Opt for clear containers to easily identify the contents and reduce the need to open multiple containers when searching for specific items.
10.4 Checking for food recalls
Regularly check for food recalls to ensure the safety of the items in your refrigerator. Stay informed about any products that may pose a health risk and discard them immediately if they are subject to a recall. Establish a habit of checking news updates or subscribing to food recall alerts to keep your fridge safe.
By following these steps and implementing the tips and strategies outlined in this comprehensive guide, you can effectively clean, organize, and maintain your refrigerator. Not only will you create a visually appealing and hygienic environment, but you will also ensure food safety, optimize energy efficiency, and simplify your daily life in the kitchen. Take the time to establish good cleaning practices, create an organizational system that works for you, and enjoy the benefits of a clean, organized, and efficient refrigerator.


