Imagine this: you’re getting ready to prepare a delicious meal for your loved ones, but as you turn on your stove, nothing happens. Frustrating, right? Well, fear not! In this article, we will walk you through the troubleshooting process for common stove and range issues, helping you get back to cooking in no time. So grab a cup of tea and get ready to become a stove-savvy pro!
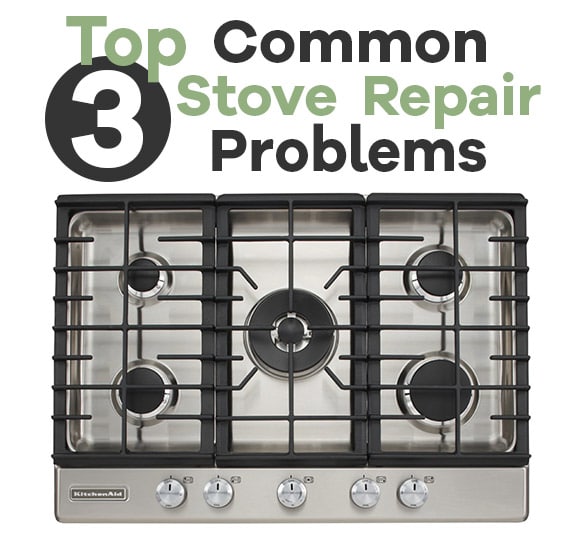
This image is property of image.isu.pub.
Stove Not Heating Up
Check the Power Source
If your stove is not heating up, the first thing you should check is the power source. Make sure the stove is properly plugged into the electrical outlet and that the outlet is working. You can do this by plugging in another appliance or using a voltage tester. If the outlet is functioning properly, then the issue might lie within the stove itself.
Inspect the Heating Elements
The next step is to inspect the heating elements of your stove. These are the coils located on the stove’s surface or in the oven. Sometimes these elements can become damaged or worn out, resulting in uneven or no heat. Carefully examine each element to see if there are any visible signs of damage, such as melting or discolored spots. If you notice any issues, it may be time to replace the heating element.
Verify the Terminal Blocks
Lastly, check the terminal blocks of your stove. These are the connectors that attach the power cord to the heating elements. Over time, these blocks can become loose or corroded, causing poor electrical connections and preventing the stove from heating up properly. Inspect the terminal blocks and tighten any loose connections. If you notice corrosion, consider replacing the terminal blocks to ensure a proper flow of electricity.
Stove Burners Not Working
Clean Burner Elements
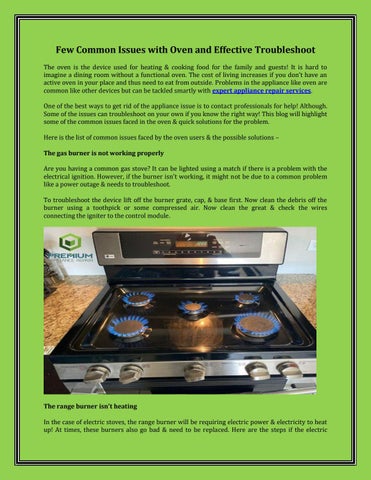
If your stove burners are not working, the first thing you should do is clean the burner elements. Over time, food debris and spills can accumulate on the burners, preventing them from heating up efficiently. Remove the burners from the stove and give them a thorough cleaning. Use a soft brush or a toothbrush to scrub away any residue. Once cleaned, reassemble the burners and test them to see if they are working properly.
Check Burner Switches
If cleaning the burner elements does not solve the problem, check the burner switches. These switches control the power supply to the burners. Sometimes these switches can become faulty or worn out, causing the burners to fail. Carefully examine each switch and test them to ensure they are functioning correctly. If you find any issues, it may be necessary to replace the faulty switches.
Test Burner Receptacles
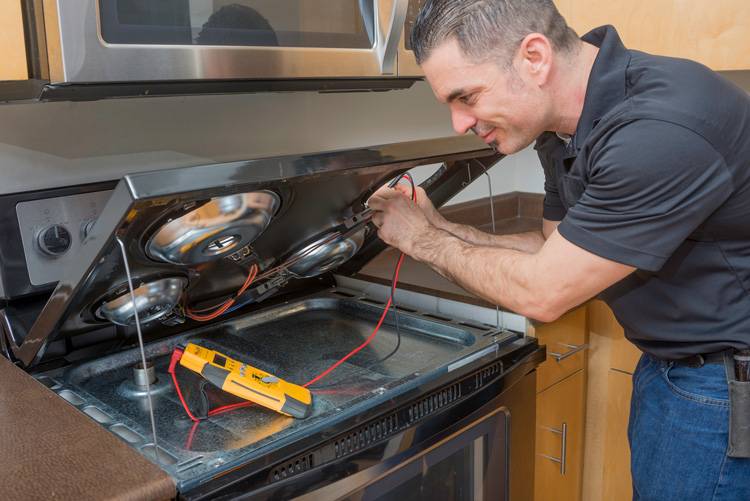
If both cleaning the burner elements and checking the burner switches do not resolve the problem, it is time to test the burner receptacles. These receptacles are the connectors that the burners plug into. Sometimes these receptacles can become loose or damaged, resulting in a poor electrical connection. Test each receptacle with a multimeter to ensure they are receiving the proper voltage. If you find any defective receptacles, they may need to be replaced.
This image is property of lakeappliancerepair.com.
Oven Not Heating to the Desired Temperature
Calibrate the Oven Temperature
If your oven is not heating to the desired temperature, it may need to be calibrated. Oven temperature calibration is a simple process that ensures the oven is reaching the correct temperature as indicated on the control panel. Consult your oven’s user manual for specific instructions on how to calibrate the temperature. Typically, this involves adjusting the thermostat or control panel settings to match a known accurate temperature.
Check the Oven Igniter
Another possible cause of an oven not heating to the desired temperature is a faulty oven igniter. The oven igniter is responsible for producing the heat needed to ignite the gas in a gas oven or to activate the heating elements in an electric oven. If the igniter is faulty, it may not be able to generate enough heat to reach the desired temperature. Carefully inspect the igniter for any signs of damage or malfunction. If it appears worn out or broken, it will need to be replaced.
Inspect the Oven Sensor
The oven sensor is a small device located inside the oven cavity that measures the temperature. If the oven sensor is malfunctioning, it may not be accurately detecting the temperature, resulting in uneven heating or inability to reach the desired temperature. Inspect the oven sensor for any visible damage or signs of wear. Additionally, use a multimeter to test the resistance of the sensor to ensure it is within the manufacturer’s specified range. If the oven sensor is defective, it should be replaced.
Unevenly Cooked Food
Verify Oven Temperature Calibration
If you are experiencing unevenly cooked food, the first step is to verify that your oven temperature is properly calibrated. As mentioned earlier, calibrating the oven temperature ensures that it is reaching the correct temperature. Follow the instructions in your oven’s user manual to recalibrate the temperature if needed.
Reposition Oven Racks
Unevenly cooked food can also be caused by improper positioning of the oven racks. If the racks are placed too close to the heating elements or too far away, it can result in uneven cooking. Adjust the position of the oven racks to allow for proper airflow and even heat distribution. Consult your oven’s user manual for guidance on the recommended rack positions for different types of cooking.
Utilize Convection Option (if available)
If your oven has a convection option, consider utilizing it to achieve more even cooking. Convection baking uses a fan to circulate hot air within the oven, resulting in faster and more even cooking. This can help to eliminate hot spots and ensure that your food is cooked evenly. Refer to your oven’s user manual for instructions on how to use the convection feature properly.
This image is property of allapplianceandrefrigeration.com.
Gas Smell When Using the Oven
Ensure Proper Gas Connections
If you smell gas when using the oven, it is crucial to ensure that the gas connections are properly attached and secure. Check the flexible gas supply line leading to the oven for any signs of damage or looseness. Tighten any loose connections and ensure that all fittings are secure. If you notice any damage to the gas supply line, it should be replaced immediately.
Check for Gas Leaks
Gas leaks are a serious safety concern and should be addressed immediately. To check for gas leaks, mix a small amount of dish soap with water and apply it to the gas connections, particularly around the flexible gas supply line and the gas shut-off valve. If you notice any bubbles forming, it indicates a gas leak. In this case, turn off the gas supply and contact a professional technician to repair the leak.
Inspect the Gas Safety Valve
The gas safety valve is a critical component of your oven that controls the flow of gas. If the safety valve is faulty or malfunctioning, it could result in a gas smell when the oven is in use. Inspect the safety valve for any damage or signs of wear. Additionally, check the electrical connections to ensure they are secure. If the safety valve is defective, it should be replaced by a qualified technician.
Stove Control Panel Not Responding
Check Power Supply and Circuit Breakers
If your stove control panel is not responding, the first thing to check is the power supply. Ensure that the stove is properly plugged into a functioning electrical outlet. If it is plugged in correctly, check the circuit breakers in your electrical panel to determine if any have tripped. Reset any tripped breakers and test the stove control panel to see if it is now responsive.
Reset the Control Panel
Sometimes a simple reset can fix issues with a non-responsive stove control panel. Locate the circuit breaker that powers the stove or unplug it from the electrical outlet. Leave it unplugged or with the breaker switched off for a few minutes, then restore power by plugging it back in or flipping the breaker. After resetting, check if the control panel is now functioning properly.
Replace Control Panel Components
If the control panel still does not respond after checking the power supply and performing a reset, it is possible that there is a faulty component within the panel itself. In this case, it may be necessary to replace certain control panel components. Consult your stove’s user manual or contact a professional technician for guidance on which components need replacement and how to safely do so.
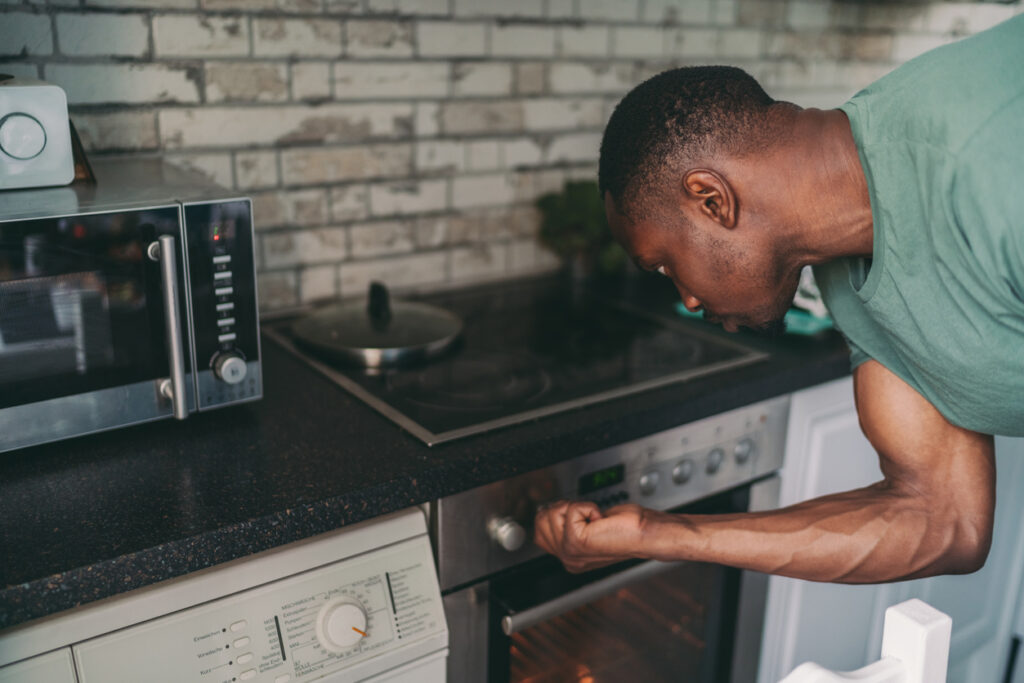
This image is property of d12mivgeuoigbq.cloudfront.net.
Stove Self-Cleaning Problems
Ensure Door Lock Mechanism Functions Properly
When encountering problems with the self-cleaning cycle of your stove, one common issue may be a faulty door lock mechanism. The door lock is designed to keep the oven door securely closed during the high-temperature self-cleaning process. If the door lock is not engaging or releasing properly, the self-cleaning cycle may not start or complete. Inspect the door lock mechanism for any damage or obstructions, clean it if necessary, and replace any worn-out or broken parts.
Clean the Self-Cleaning System
Sometimes, the self-cleaning problems can be attributed to a dirty or malfunctioning self-cleaning system. Over time, food particles and grease can accumulate within the system, hindering its proper functioning. Clean the interior of the oven and the self-cleaning system using a non-abrasive cleaner and a soft cloth. Remove any debris or residue that might be obstructing the system’s operation.
Reset Error Codes
If your stove’s self-cleaning problems are accompanied by error codes on the control panel, resetting these codes may help resolve the issue. Consult your stove’s user manual for instructions on how to reset error codes specific to your model. In many cases, turning off the stove or unplugging it from the power source for a few minutes can clear the error codes. After resetting, run a test self-cleaning cycle to see if the problem has been resolved.
Strange Smells during Stove Operation
Clean the Stove Surface
Strange smells during stove operation can be an indication of food residue or spills on the stove surface burning or overheating. Clean the stove surface thoroughly using a mild detergent or a specialized stove surface cleaner. Remove any food particles or spills, paying special attention to the areas around the burners. Regular cleaning of the stove surface can help prevent strange smells and ensure a more pleasant cooking experience.
Inspect for Burnt Food Residue
If the strange smells persist even after cleaning the stove surface, it is possible that there is burnt food residue in hard-to-reach areas or inside the burners. Carefully remove the burners and inspect them for any signs of burnt food residue. Clean the burners thoroughly, removing any debris or residue that may be causing the strange smells. Additionally, inspect the drip pans or trays underneath the burners and clean them if necessary.
Check for Electrical Issues
If neither cleaning the stove surface nor removing burnt food residue solves the issue of strange smells, it may be necessary to check for electrical issues. Strange smells during stove operation can sometimes be a result of faulty wiring or electrical components. Carefully inspect the electrical connections within the stove, ensuring that all wires are properly connected and tightened. If you notice any damaged or frayed wires, they should be replaced by a professional technician.
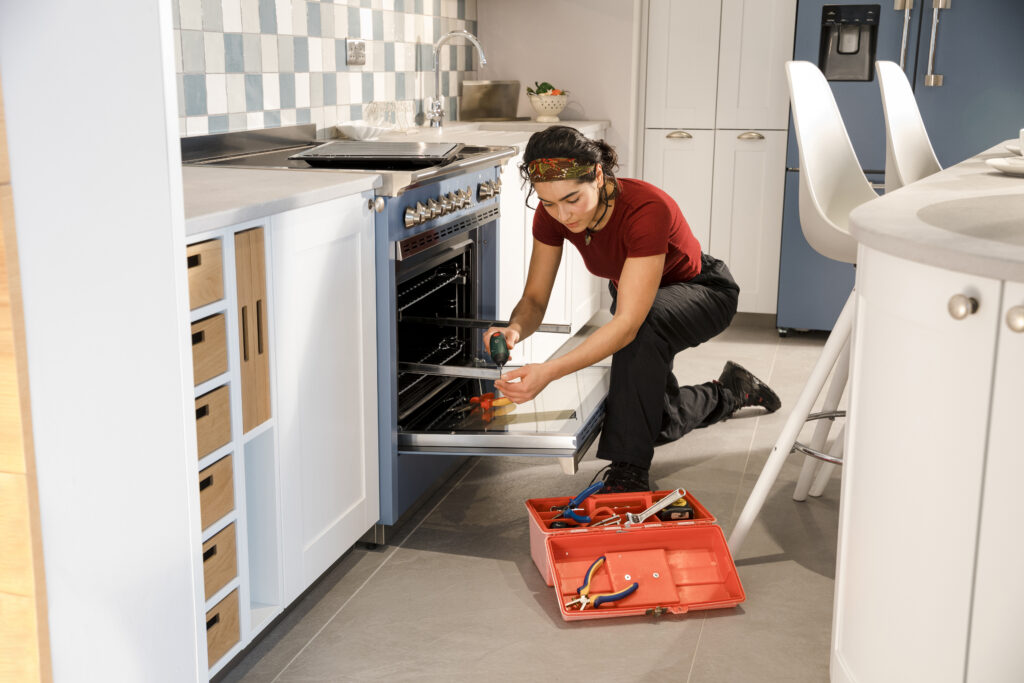
This image is property of d12mivgeuoigbq.cloudfront.net.
Malfunctioning Oven Light
Replace the Light Bulb
If the oven light is not functioning, the first thing you should check is the light bulb itself. Oven light bulbs can burn out over time and need to be replaced. Consult your oven’s user manual for guidance on the type of light bulb required and how to safely remove and replace it. Make sure to switch off the power or unplug the oven before replacing the light bulb for safety purposes.
Inspect and Reset the Light Socket
If replacing the light bulb does not solve the problem, inspect the light socket. Sometimes the light socket can become loose or dirty, preventing the bulb from making proper contact. Carefully remove the light bulb and clean the socket with a soft cloth. Ensure that the socket is firmly secured and properly aligned. If necessary, use a small screwdriver to gently adjust the contacts within the socket. Test the light again after completing these steps.
Check the Oven Light Switch
If the oven light still does not work after replacing the light bulb and inspecting the light socket, the issue may lie with the oven light switch. The oven light switch controls the flow of electricity to the light bulb. Test the switch by turning it on and off multiple times while observing the light bulb. If the switch fails to turn the light on or off, it may be faulty and need to be replaced. Consult your oven’s user manual or contact a professional technician for guidance on replacing the oven light switch.
Stove Tripping Circuit Breaker
Avoid Overloading the Circuit
If your stove is consistently tripping the circuit breaker, it indicates an electrical overload. Evaluate the number of appliances or devices on the same circuit as the stove. If there are multiple high-powered appliances connected to the same circuit, try redistributing them to different circuits or unplugging unnecessary devices. Avoid operating multiple high-powered appliances simultaneously to prevent overloading the circuit.
Check for Short Circuits
Short circuits can cause the stove to trip the circuit breaker. Inspect the stove’s power cord and the outlet it is plugged into for any visible signs of damage or exposed wires. If you notice any frayed wires or damaged insulation, it is important to replace the power cord or repair the outlet before using the stove again. Additionally, identify any loose connections within the circuit wiring and tighten them securely.
Inspect Wiring and Electrical Components
If the stove continues to trip the circuit breaker, it may be necessary to inspect the wiring and electrical components within the stove itself. Carefully remove the back panel or consult your stove’s user manual to access the wiring and electrical components. Look for any signs of damage, loose connections, or burnt wires. If you notice any issues, contact a professional technician to safely repair or replace the wiring and electrical components.


