Whether you’re a die-hard coffee lover or simply enjoy the occasional cup, keeping your coffee grinder clean and sanitized is essential for maintaining the best tasting brew. But with so many different methods and opinions out there, it can be overwhelming to know what the proper way actually is. In this article, we’ll break it down for you, providing a clear and concise guide on how to clean and sanitize your coffee grinder, ensuring that each cup of java is as fresh and flavorful as can be.

Step 1: Gather necessary materials
Before beginning the cleaning and sanitizing process for your coffee grinder, make sure you have all the necessary materials on hand. You will need a cleaning brush, dish soap, white vinegar, and a clean cloth or towel. These items will help ensure a thorough and effective cleaning of your coffee grinder.
Step 2: Unplug the coffee grinder
As a safety precaution, it is crucial to unplug your coffee grinder before starting the cleaning process. This eliminates the risk of any electrical accidents or injuries while handling and disassembling the grinder. Always prioritize your safety when working with any electrical appliance.

Step 3: Disassemble the coffee grinder
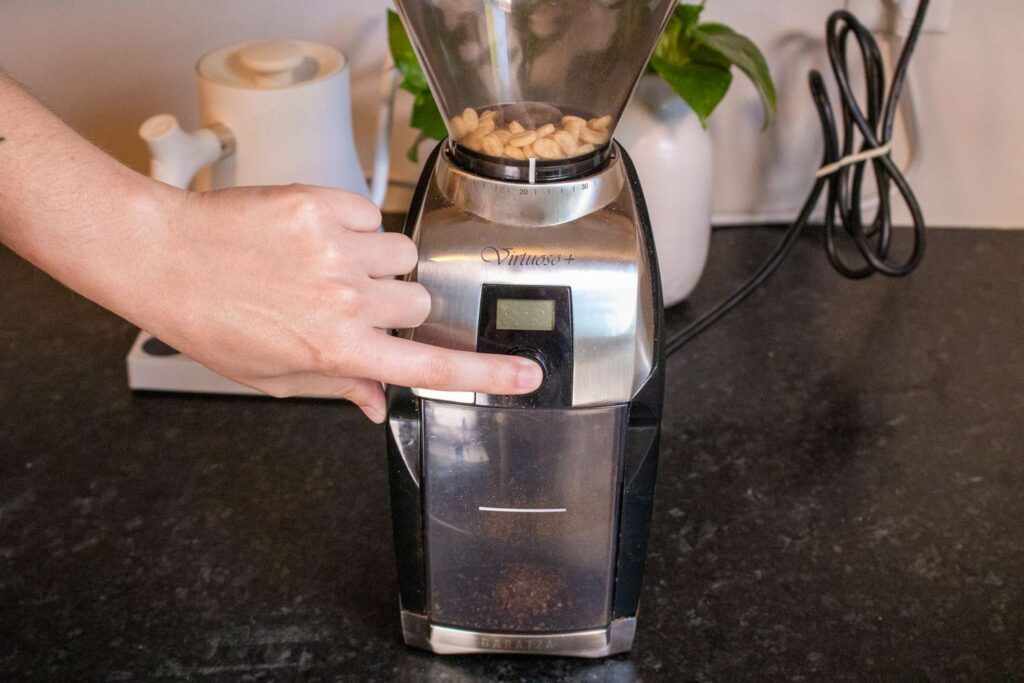
To clean your coffee grinder thoroughly, you will need to disassemble it into its different parts. This allows you to access all the nooks and crannies where coffee residue may accumulate over time. The disassembly typically consists of removing the hopper, burrs, and grind chamber.
Removal of hopper
Start by removing the hopper, which is the part that holds the coffee beans. This can usually be done by twisting or lifting it off, depending on the specific model of your coffee grinder. Pay attention to any unlocking mechanisms or screws that may need to be loosened before removing the hopper.
Removal of burrs
The burrs are the grinding mechanism inside the coffee grinder that crushes the coffee beans. Carefully remove the burrs, following the instructions provided by the grinder’s manufacturer. Some grinders may require special tools or techniques for removing the burrs, so refer to the user manual if necessary.
Removal of grind chamber
Once the hopper and burrs have been taken out, you can proceed to remove the grind chamber. This is where the ground coffee collects during the grinding process. The grind chamber can usually be detached by unscrewing or sliding it off the main body of the grinder. Take care not to damage any delicate components during this step.
Step 4: Clean the hopper
Now that the grinder is disassembled, you can begin cleaning each part individually. Start with the hopper, which is the part that holds the coffee beans.
Remove any coffee beans
Before cleaning the hopper, make sure to remove any remaining coffee beans. Discard them or store them in an airtight container for future use. This step prevents any potential contamination or mixing of different coffee flavors during the cleaning process.
Wash with warm soapy water
Using warm soapy water and a clean cloth or sponge, wash the hopper thoroughly. Pay special attention to any areas with built-up coffee oils or residue. Gently scrub the surfaces to remove any stains or debris. Dish soap is an effective cleaning agent for removing oils and stains from coffee-related equipment.
Rinse and dry thoroughly
After washing the hopper, rinse it with clean water to remove any soap residue. Make sure to rinse all parts of the hopper, including the corners and crevices. Once rinsed, dry the hopper completely with a clean towel or cloth. Moisture left behind can lead to mold or bacterial growth, affecting the quality of your coffee.

Step 5: Clean the burrs
Next, you will focus on cleaning the burrs, the essential part responsible for grinding the coffee beans to the desired consistency.
Use a cleaning brush to remove coffee residue
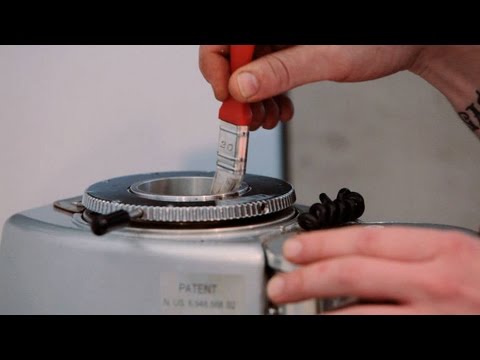
Start by using a cleaning brush specifically designed for coffee grinders to remove any remaining coffee residue on the burrs. Gently brush the surfaces of the burrs, ensuring all nooks and crannies are thoroughly cleaned. This step helps maintain the sharpness and efficiency of the burrs.
Soak burrs in white vinegar solution
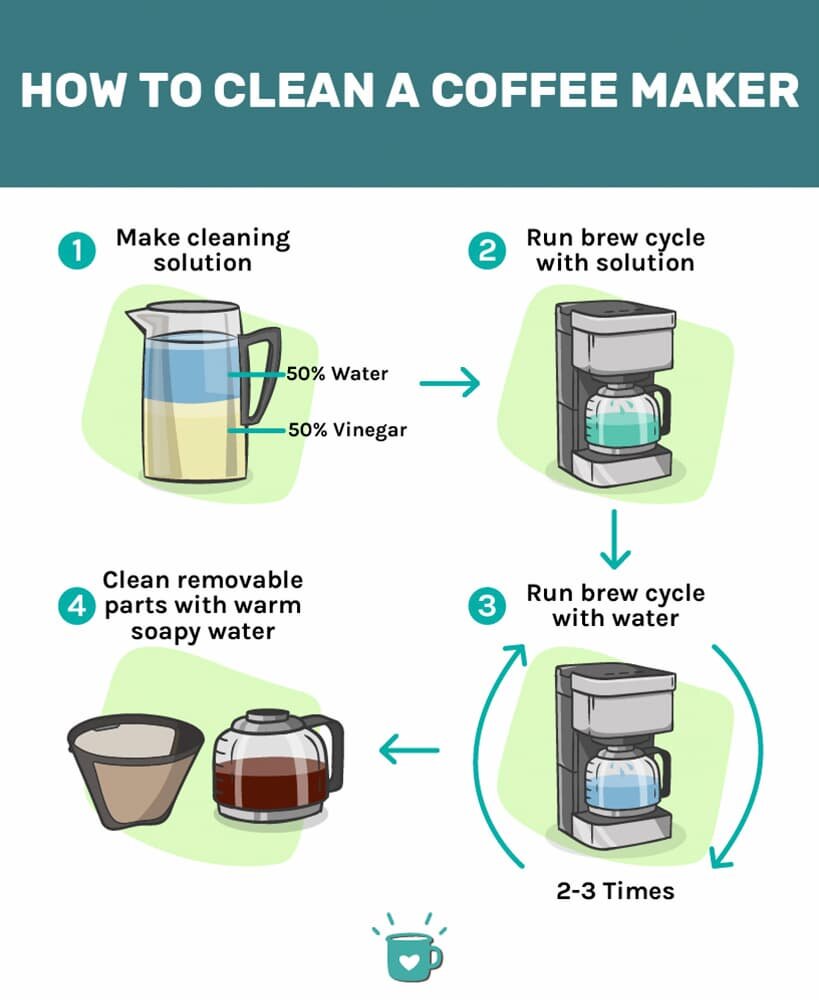
To deep clean the burrs, prepare a solution of white vinegar and water. The ratio should be one part vinegar to three parts water. Submerge the burrs in this solution for around 15-20 minutes. White vinegar is effective in removing stubborn coffee stains and oils accumulated on the burrs.
Scrub lightly with brush
After soaking the burrs, remove them from the white vinegar solution and scrub them lightly with the cleaning brush. This step helps dislodge any remaining residue and ensures a more thorough cleaning. Take care not to scrub too vigorously, as this could damage the burrs.
Rinse with water and dry
Once you have finished scrubbing the burrs, rinse them with clean water to remove any vinegar residue. Ensure all traces of vinegar are washed off before drying the burrs with a clean cloth or towel. Make sure to dry them thoroughly to prevent any moisture-related issues.
Step 6: Clean the grind chamber
Moving on to the grind chamber, it’s essential to clean this part to maintain the quality of your coffee grounds.
Wipe the inside of the chamber with a clean cloth
Start by using a clean cloth or towel to wipe the inside of the grind chamber. This helps remove any coffee grounds or residue that may have accumulated. Pay attention to corners and hard-to-reach areas where coffee grounds tend to get stuck.
Use a brush to remove any remaining coffee grounds
After wiping the grind chamber, use the cleaning brush to remove any remaining coffee grounds. Gently brush the surfaces, ensuring all loose particles are dislodged. This step helps prevent any cross-contamination or flavor mixing between coffee batches.

Step 7: Reassemble the coffee grinder
With the individual parts of the coffee grinder now clean, it’s time to reassemble them to their original positions.
Put the burrs back in place
The first step in reassembling the coffee grinder is carefully putting the burrs back in place. Follow the specific instructions provided by the manufacturer to ensure proper alignment and positioning. Take your time and ensure the burrs are securely in place.
Secure the hopper
Once the burrs are reinstalled, secure the hopper back onto the grinder’s body. Check for any locking mechanisms or screws that need to be tightened to ensure a secure fit. This step ensures the coffee beans are properly stored and ready for grinding.
Ensure all parts fit properly
Before using your coffee grinder again, double-check that all parts are properly reassembled and securely in place. Ensure that the hopper, burrs, and grind chamber are all correctly aligned and attached. This step guarantees the grinder’s smooth operation and reduces the risk of any malfunction or damage.
Step 8: Sanitize the coffee grinder
To ensure a thoroughly clean and sanitary coffee grinder, it’s essential to sanitize it periodically. This step helps eliminate any bacteria, mold, or other contaminants that may have accumulated during regular use.
Fill the hopper with white rice
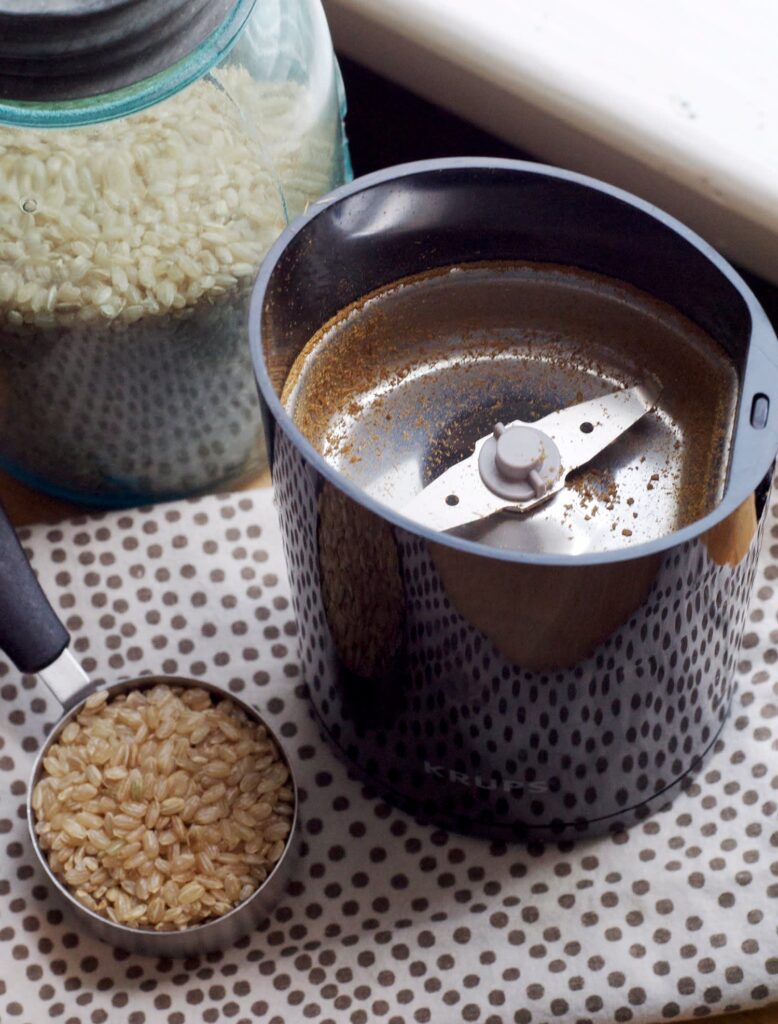
To sanitize the coffee grinder, start by filling the hopper with white rice. The rice acts as an absorbent material that absorbs oils and residues left behind in the grinder. Ensure that the hopper is filled enough to cover the blades or burrs.
Switch on and let it grind the rice
With the hopper filled with rice, switch on the coffee grinder and let it grind the rice for about 30 seconds to a minute. The rice will break down and absorb any remaining oils or residue, effectively cleaning the internal components of the grinder. The grinding action helps dislodge any particles stuck in hard-to-reach areas.
Dispose of the rice and wipe clean
Once the grinding process is complete, carefully dispose of the rice from the hopper. Empty the remaining rice into a trash bin and wipe the hopper clean with a dry cloth or towel. This step removes any rice particles or residue left behind by the grinding process.

Step 9: Clean the exterior of the coffee grinder
While the interior components of the coffee grinder are essential to clean, it’s also crucial to maintain the exterior appearance and cleanliness of the grinder.
Wipe the outside with a damp cloth
To clean the exterior of the coffee grinder, use a damp cloth or sponge. Gently wipe all accessible surfaces, removing any dust, stains, or fingerprints that may have accumulated over time. Take care not to use excessive moisture that could damage electrical components.
Dry thoroughly
After wiping the outside of the coffee grinder, make sure to dry it thoroughly with a clean towel or cloth. Moisture left on the exterior surfaces can lead to stains, corrosion, or even electrical malfunctions. Proper drying ensures the grinder remains in optimal condition and extends its lifespan.
Step 10: Regular maintenance
Once you have thoroughly cleaned and sanitized your coffee grinder, it’s essential to establish a regular maintenance routine to ensure its longevity and optimal performance.
Clean the grinder at least once a week
To keep your coffee grinder in top shape, make it a habit to clean it at least once a week. Regular cleaning prevents the build-up of oils, residue, and stale coffee particles that can affect the flavor of your brew.
Remove and wash removable parts
During regular maintenance, be sure to remove and wash any removable parts of the coffee grinder. This includes the hopper, burrs, and grind chamber. Cleaning these parts individually ensures a comprehensive and efficient cleaning process.
Brush off any coffee grounds from burrs regularly
To maintain the effectiveness of the burrs, it’s essential to brush off any coffee grounds regularly. Coffee grounds tend to accumulate between the burrs during the grinding process. By brushing them off after each use, you ensure optimal grinding performance and prevent any unpleasant flavors in your brewed coffee.
By following these steps and maintaining a regular cleaning schedule, you can keep your coffee grinder in excellent condition and enjoy a flavorful and aromatic cup of coffee every time. Remember to prioritize your safety by unplugging the grinder before cleaning, and always refer to the manufacturer’s instructions for more specific guidance on cleaning your particular coffee grinder model. Stay diligent, and happy brewing!


